
Prepare Potions Before Re-entering Combat
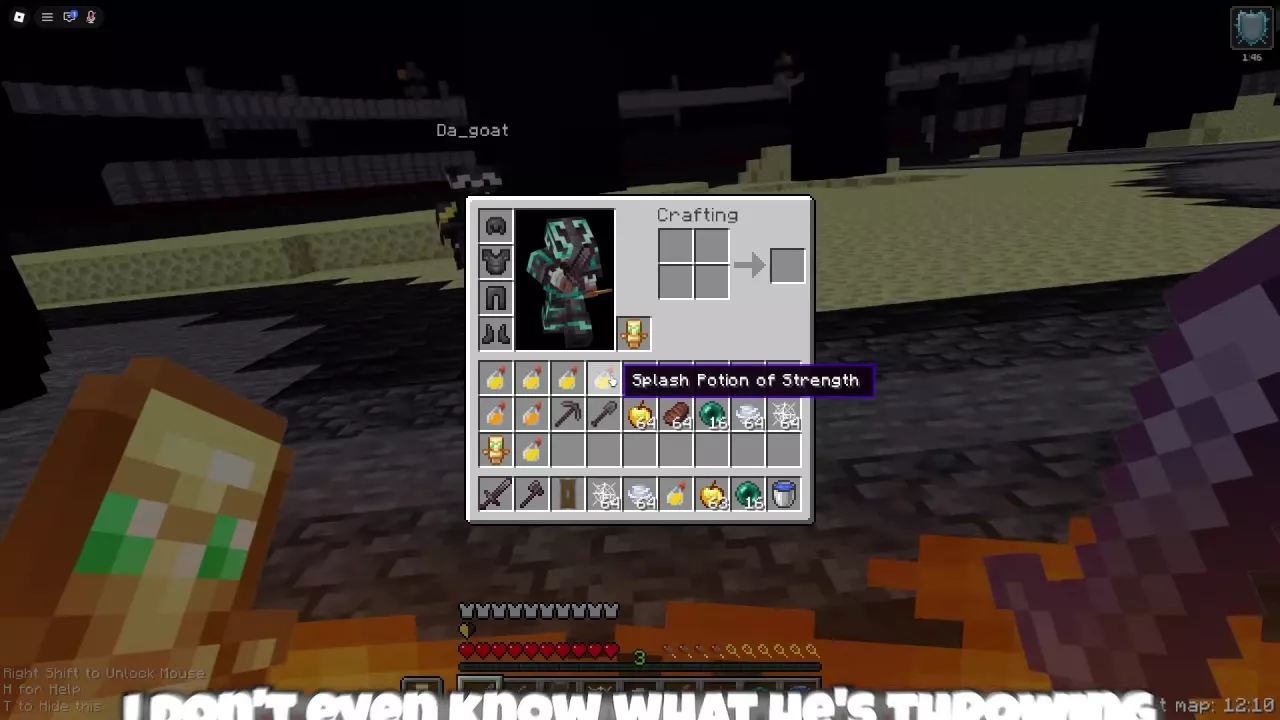
Choose your potion for the next fight:
| Potion | When to use it | Why |
|---|---|---|
| Splash Potion of Strength | Before returning to melee | Offensive preparation for your next exchange |
| Splash Potion of Swiftness | When movement matters for approaching or disengaging | Mobility support that can accompany Strength |
| Splash Potion of Fire Resistance | Before a fight involving fire | Defensive preparation for fire-related pressure |
Prepare the bottles while you have space, so you do not have to search your inventory with an opponent already attacking.
- Press E to open your inventory with the default PC bindings.
- Move the desired splash potions into your hotbar. Hover over a bottle to read its name if needed.
- Press E to close the inventory, then select the bottle with its hotbar number key.
- Aim at the ground at your feet and use the potion on yourself. Use Item is the right mouse button by default on PC; use your assigned binding if you changed it.
- Switch back to your weapon before approaching the opponent.
Strength adds a timed status icon. In a Free For All preparation example, using another Strength bottle increased the remaining timer. Treat that as a duration benefit, rather than a reason to spend bottles expecting stacked damage. After using Fire Resistance, the consumed bottle leaves its slot and a flame status icon appears.
Block, Then Switch Back to Your Weapon
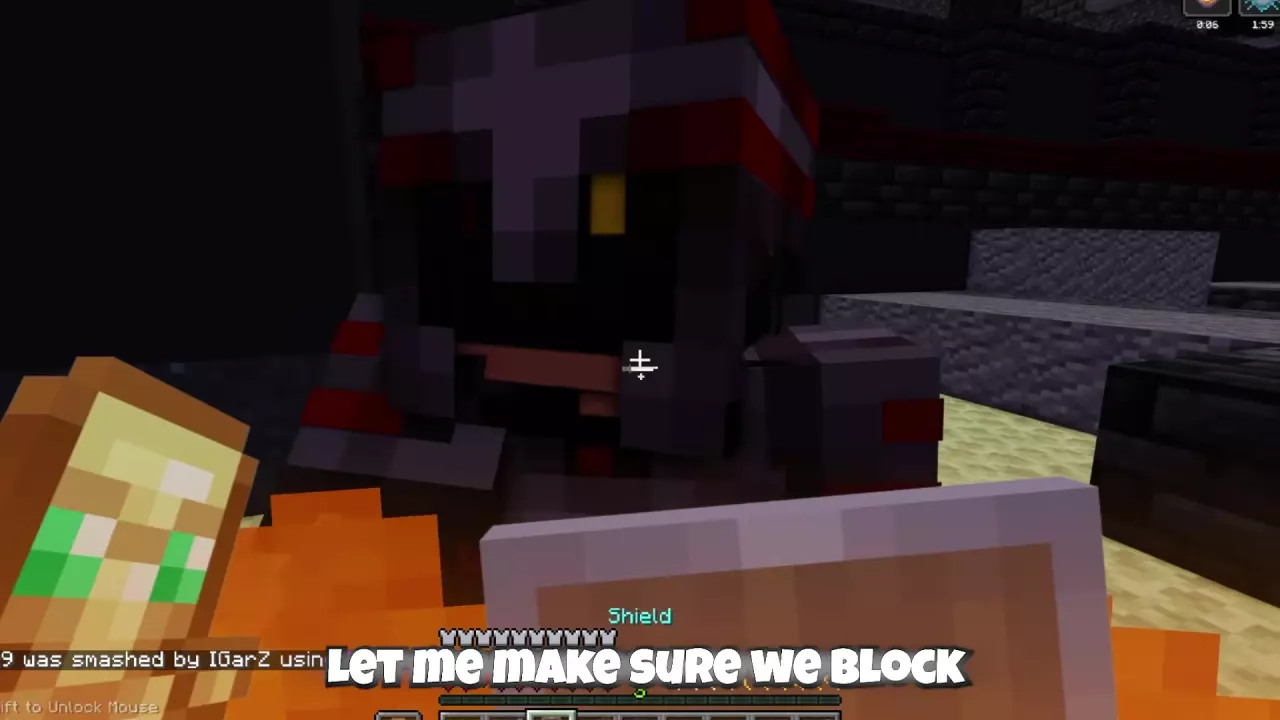
If your kit includes both a Shield and a Totem of Undying, leave the totem in your offhand and put the shield in an accessible hotbar slot. This lets you select the shield without removing your offhand protection.
- Select the Shield as an attacker closes in.
- Face the incoming opponent and raise the shield using Use Item—the right mouse button with default PC controls.
- Switch back to your sword or other weapon to counterattack when you have an opening.
Use blocking to interrupt the habit of constantly attacking through incoming pressure. If your health is already falling, use the opportunity to disengage and begin recovery instead of immediately trading more hits.
Create Space and Eat a Golden Apple
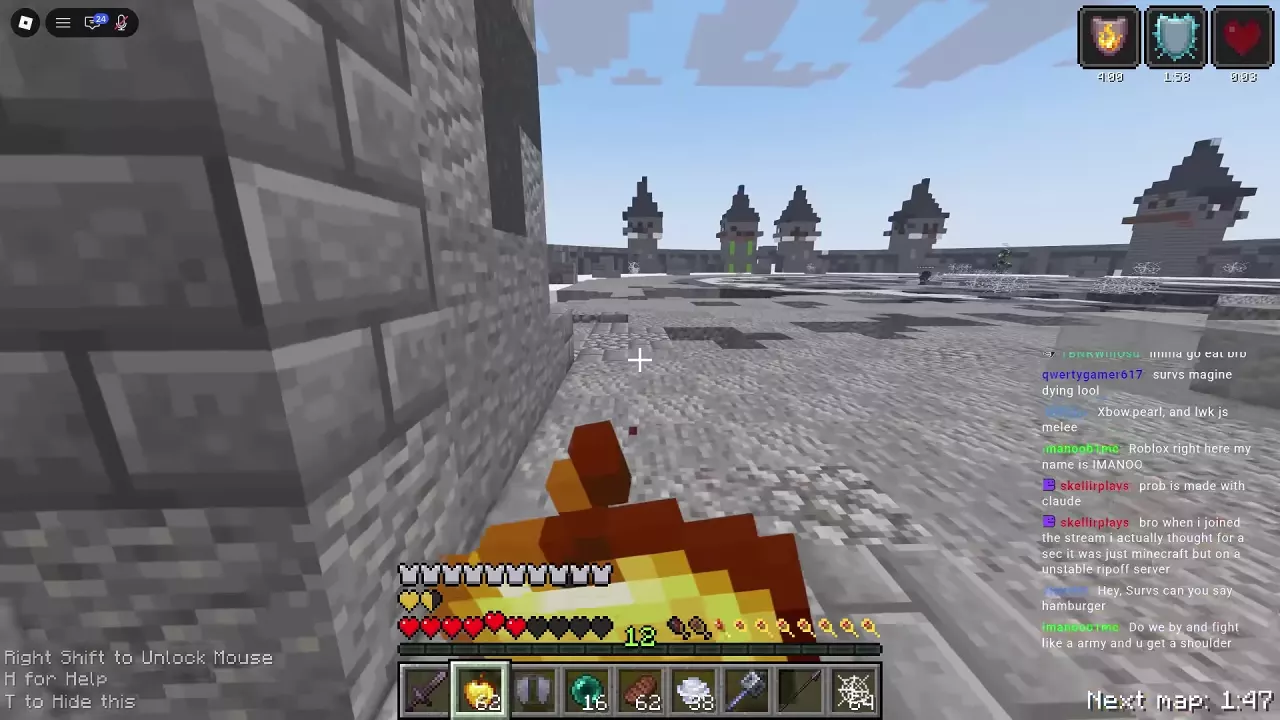
Start withdrawing before one more hit could finish you. A Golden Apple helps you recover health and adds golden hearts, but eating it does not remove the need to escape immediate pressure. Red hearts continue recovering after you finish eating.
- Move away from the opponent and create enough distance to finish eating.
- Select a Golden Apple from your hotbar.
- Use it to eat. With default PC controls, use the right mouse button.
- Watch your red hearts recover and the extra golden hearts appear. Stay out of immediate melee pressure while recovery continues.
- Switch back to your weapon when you are ready to return.
Ground recovery
Move out of the current exchange before selecting the apple. Keep it in a familiar hotbar slot so retreating does not turn into an inventory search. Continuing to take close-range hits while eating can leave you under pressure even after the apple is consumed.
Recovery with Elytra and Firework Rockets
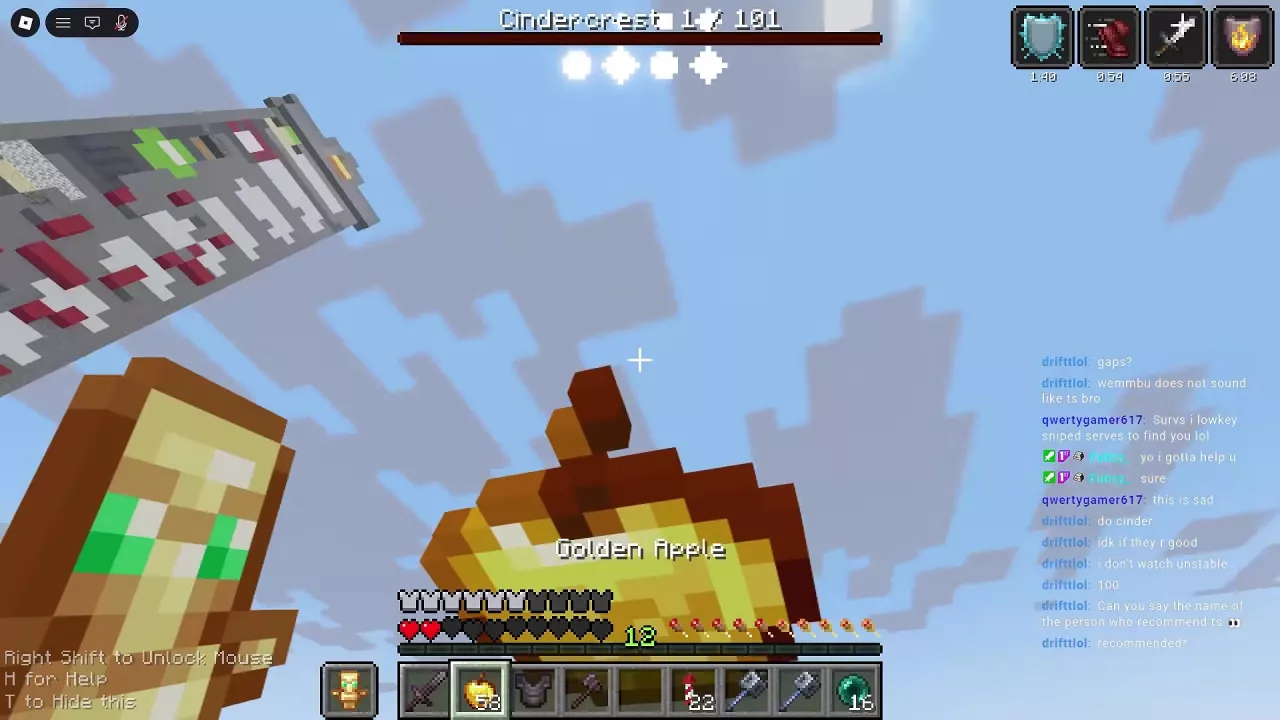
In Simulator, a kit with Elytra and Firework Rockets can create a recovery window above the fight. Use flight to separate from enemies, eat a Golden Apple in the air, and allow your health to recover before approaching again. This is especially useful when sustained close combat is draining your hearts quickly. See the movement guide for the flight inputs and equipment switching.
Recovery in a cobweb
Inside a crater, placing a Cobweb beside the wall and eating within it is another recovery option. The web also restricts your own movement, so choose this only when accepting that restriction makes sense for your position. For placement and ways out, see Cobweb traps and escapes.
Replace a Totem After It Activates
Equip a Totem of Undying in your offhand when your kit provides one. It can save you during a critical damage event, but activation consumes the equipped totem. The large totem animation is your cue to check that slot and prepare a replacement.
- Create space after activation and check your offhand. The consumed totem leaves it empty.
- Press E to open your inventory.
- Move a spare Totem of Undying into the offhand slot beside the character preview.
- Close the inventory with E.
- Eat a Golden Apple and let your health recover before rejoining the fight.
Replacement requires a spare in your inventory. A totem does not provide lasting invincibility: further attacks can still defeat you, so restoring the slot is only part of recovering.
ManePear's preset has neither a totem nor a shield. With that preset, plan to disengage early rather than relying on either defensive option.
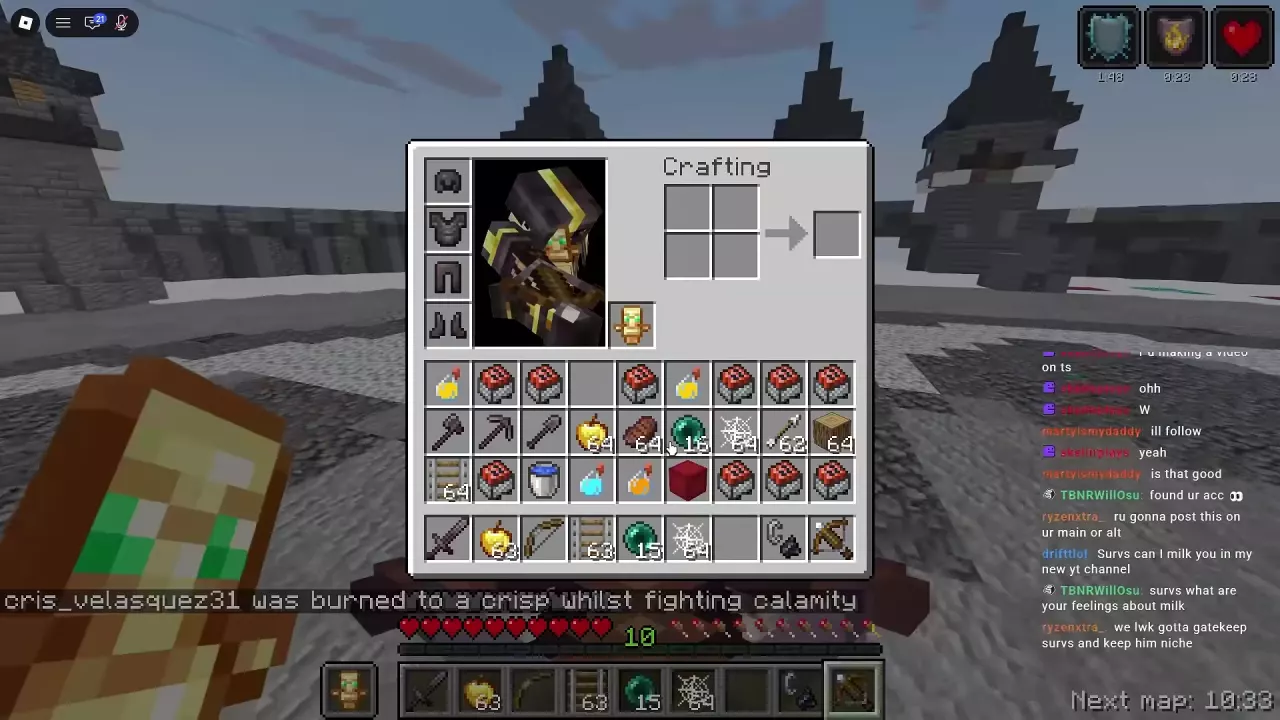
Choose the Recovery Route Your Kit Supports
| Your available equipment | Recommended approach | Reason |
|---|---|---|
| Shield and offhand totem | Use the shield against incoming pressure, then disengage to heal; keep a spare totem accessible in inventory | You have both active blocking and an emergency survival option |
| Mobility tools without shield or totem protection | Leave a losing exchange early and create distance before eating | Your recovery depends more heavily on separating from the attacker |
| Elytra and Firework Rockets in Simulator | Move above the fight and eat during the separation | Flight gives you an alternative to healing beside enemies on the ground |
Before entering combat, check your actual inventory for Golden Apples, the potions you intend to use, and any spare totem. Put the items needed during an exchange in reachable hotbar slots; keep reserve supplies where you can find them quickly.
Use inventory, hotbar and offhand management for the full equipment setup, and the movement guide for escape-tool inputs. Compare available equipment in character presets or look up supplies in the item directory.