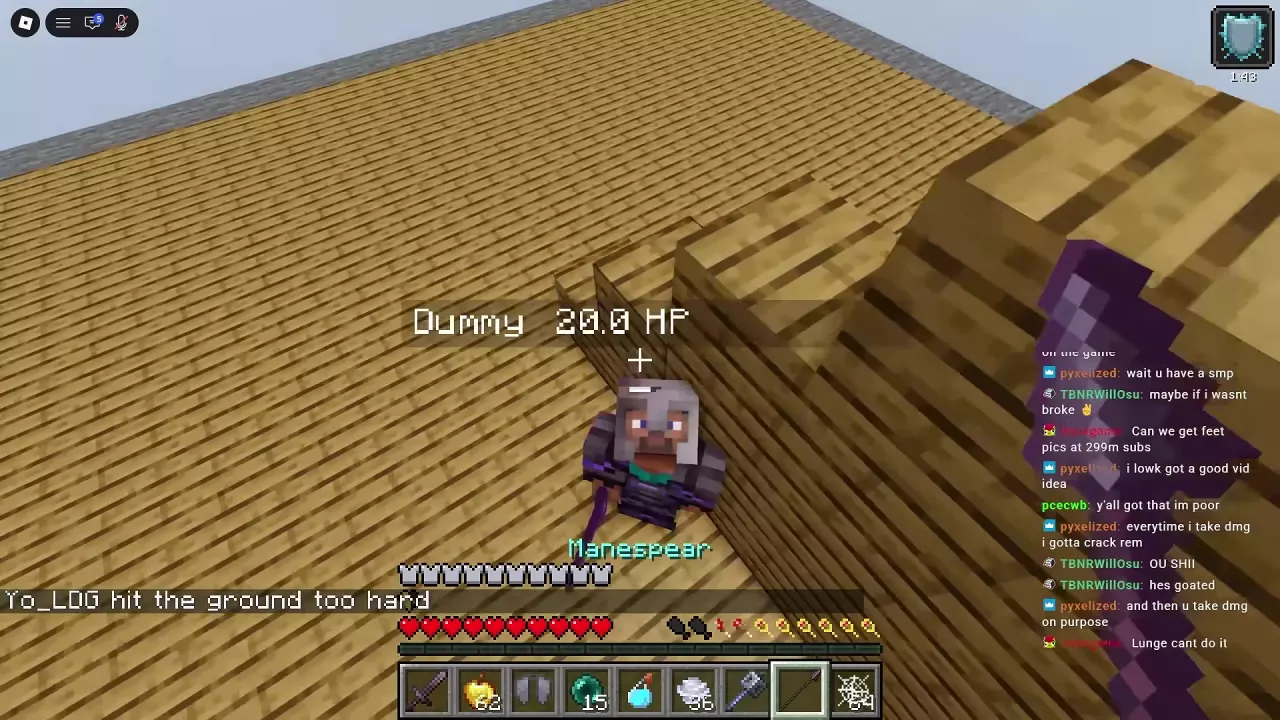
Choose the Movement Tool for Your Goal
Check your kit's equipment and hotbar before planning a route. Having Elytra does not automatically mean you also have Firework Rockets.
| Your goal | Choose | Why it fits |
|---|---|---|
| Keep moving above the battlefield | Elytra + Firework Rockets | Powered flight lets you reposition and approach from above. Equip Elytra first. |
| Reach higher terrain or leave immediate melee range | Wind Charge | A ground-directed charge can lift or reposition you. |
| Interrupt an approaching opponent | Wind Charge | A gust can push the target backward and lift them. |
| Close a gap, leave Cobweb or reach a specific area | Ender Pearl | Throw toward the destination you want to reach, then act from your new position. |
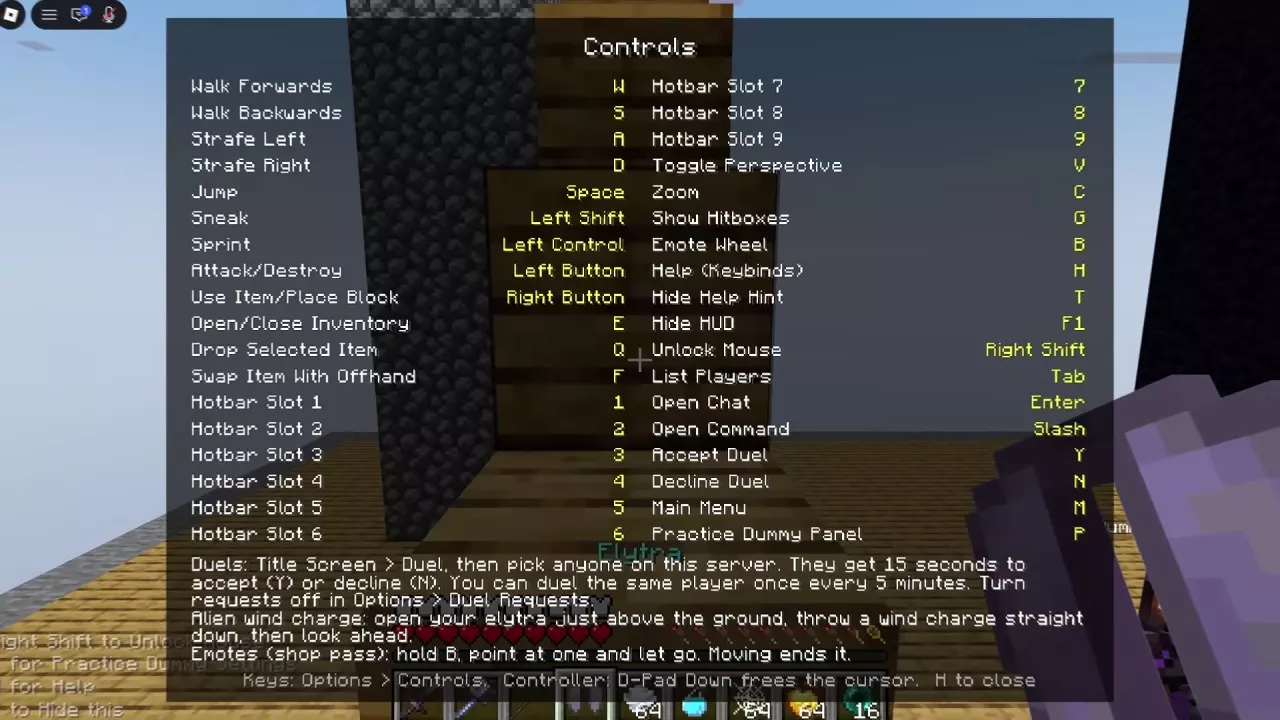
On default PC controls, press 1–9 to select a hotbar slot and right-click to use the selected item. Keep movement tools and your next weapon or recovery item easy to reach. Change bindings under Options > Controls; see the PC controls and keybinds guide for the full mapping.
Fly with Elytra and Firework Rockets
Choose a kit that provides both Elytra and Firework Rockets, then start in Practice Mode.
- Equip Elytra. Keeping it in your hotbar is not the same as wearing it.
- Select a Firework Rocket and use it with Elytra equipped to move into the air.
- Practice takeoff, turning and landing over the practice platform before adding attacks.
- Practice switching items during flight. Keep track of your direction and landing area while selecting the item you need next.
Rockets are consumable, so watch the remaining stack when planning repeated flights.
Switch between flight and protection
Elytra and a chestplate share the chest slot. Keep the replacement accessible so you can change between flight and close combat. Equip Elytra for the airborne route, then return to your chestplate when choosing protection for a close-range fight. The armor and Elytra guide covers the equipment tradeoffs and individual armor properties.
Flight can also create a recovery window. In Simulator fights such as Cindercrest, moving above the battlefield can give you room to select and eat a Golden Apple before returning. Create that separation first, then recover while continuing to watch your flight path.
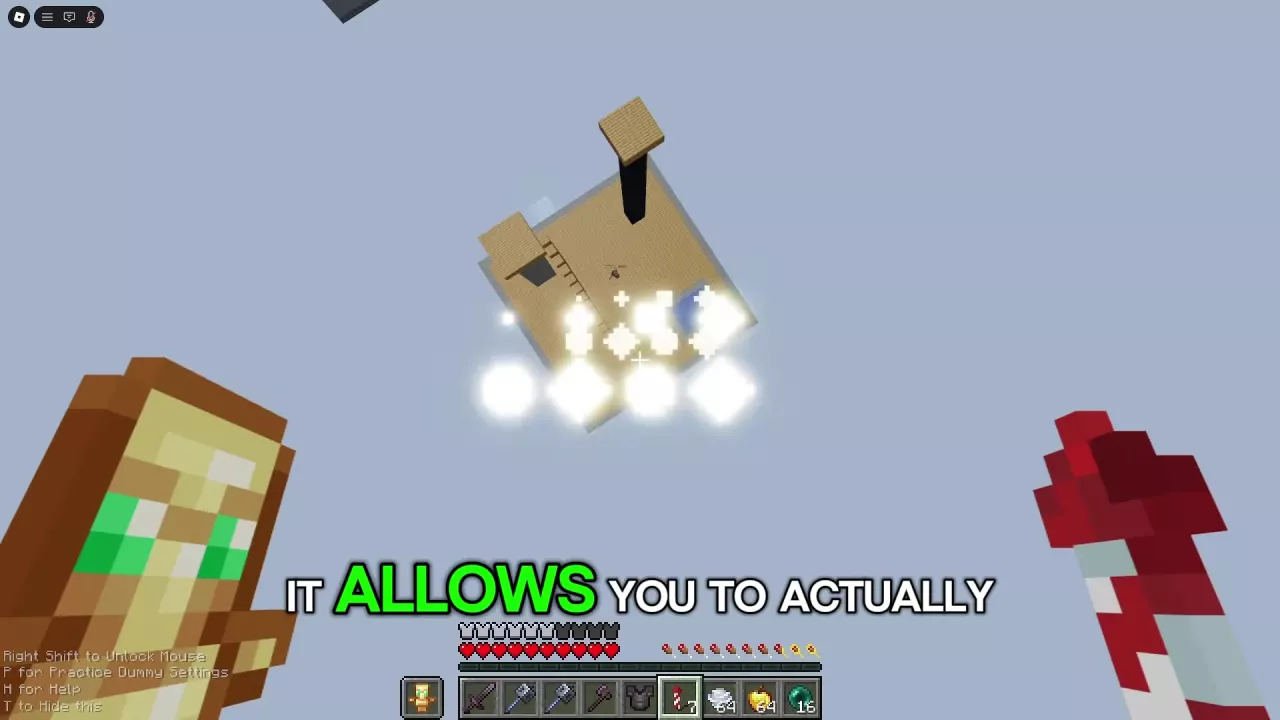
Gain Height or Create Space with Wind Charges
For self-movement, direct the charge at nearby ground rather than at an opponent.
- Select Wind Charge and aim near your feet.
- Use the charge, then follow your changing position with the camera.
- Locate your intended landing area. If you are approaching a target, keep them in view and switch to your weapon when ready to engage.
Practice launches before relying on them to reach a ledge. Some launches give less height than others, so judge the height you actually gain before committing to the next move.
Choose the aim point for the situation:
- Castle structures and wall walkways: use ground-directed charges to gain elevation toward a higher route. Pick the landing surface before launching.
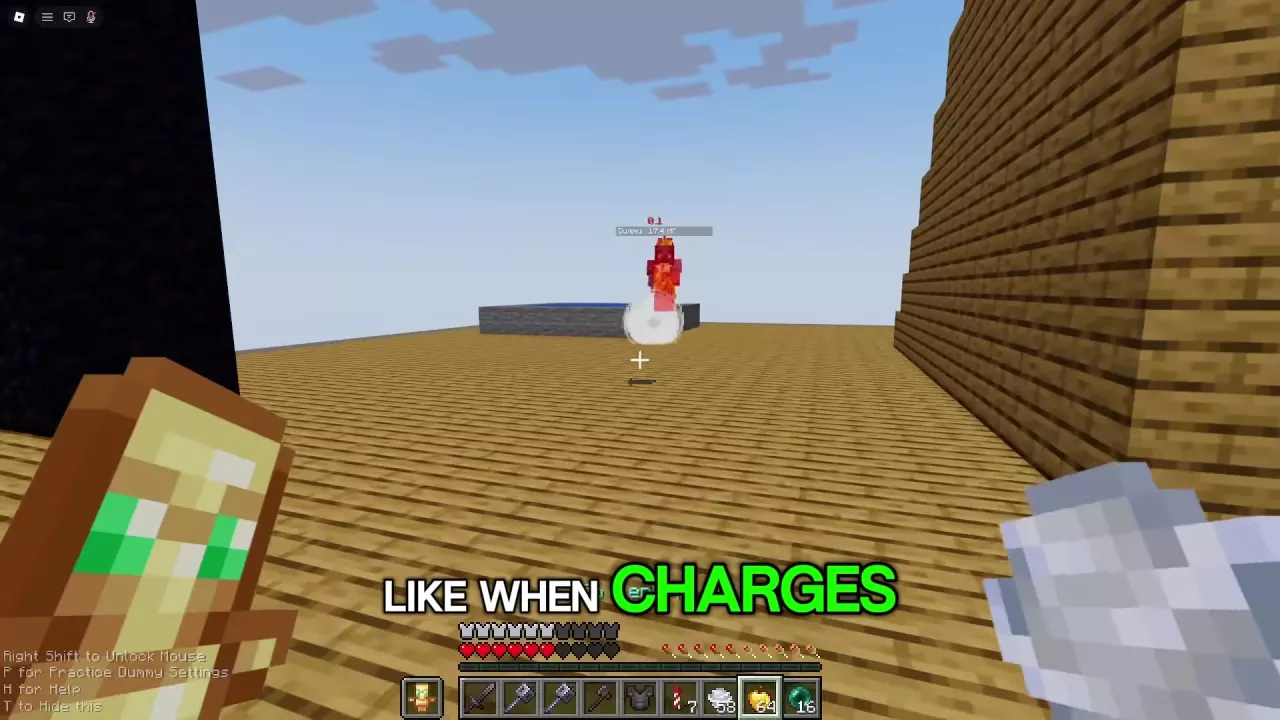
- Approaching enemies: aim at the target to push them back and lift them, disrupting their approach and creating space.
- Cobweb areas: charges toward your feet and nearby ground can help you move out. This can take several uses, and nearby webs can remain in place; landing back in them defeats the escape.
- Airborne opponents: keep tracking their movement while alternating charges and weapon selection. You can throw charges toward them, but a moving opponent can evade the throw.
- Simulator soldiers closing in: a ground-directed charge can move you above the immediate group, giving you another angle or room to disengage.
Keep one charge in reserve for defense. Spending every charge on pursuit leaves you without that option when an opponent closes in or your landing puts you in a bad position.
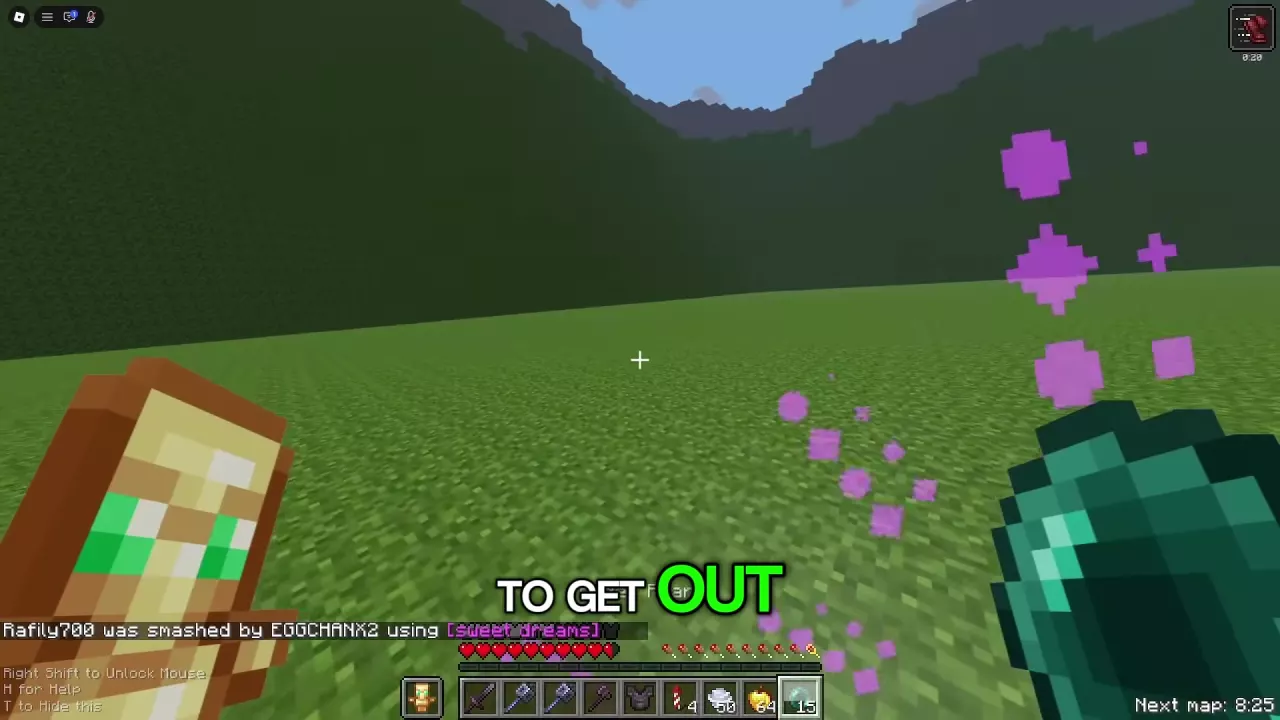
Use Ender Pearls to Chase or Escape
Decide whether you want to reach an opponent or get away before choosing where to throw.
- Select Ender Pearl. Aim toward the opponent's route for pursuit, or clear ground away from enemies for escape.
- Throw the pearl to teleport toward that destination.
- Switch to your next item after relocating: a weapon to continue pressure, or a recovery item to reset the fight.
Chase a fleeing opponent
Throw along their escape route to close the gap, then return to melee. Keep watching them after teleporting, especially if they are also using pearls. Reaching their previous position does not finish the chase; they may keep moving, gain height or disappear behind terrain.
Leave Cobweb or retreat on low health
Aim at open ground outside the webbed area and throw. If your goal is escape, choose a destination away from other enemies instead of teleporting straight into another fight. You can also pearl toward an opponent from a webbed position when you deliberately want to resume pressure. For trapping and fighting around webs, see Cobweb traps and escapes.
At low health, keep watching pursuers after landing. An airborne enemy can still catch you near the arena edge, so use the new position to recover and keep moving rather than treating the teleport as safety by itself.
Reach an Orbital Drop
Use the drop's green beam to identify the landing area and pearl toward it. This helps you reach the contest; claiming the reward is the next task. Follow the Orbital Drop guide for finding and claiming drops.
Perform the Alien Wind Charge Sequence
Alien wind charge is the movement technique named in the Controls help. It combines Elytra with a Wind Charge, so have both available.
- Deploy Elytra close to the ground.
- Throw a Wind Charge straight down.
- Look forward.
The sequence depends on that near-ground setup and downward throw. Practice those actions in order before adding weapon switches. Press H on default PC controls to open the help panel and read the technique's instructions.
Turn an Aerial Approach into an Attack
An upward Ender Pearl throw followed by Wind Charge use can set up an approach from above. Locate the target below, then switch to your intended weapon during the descent. Keep the pearl, charges and weapon accessible so selecting the next item does not distract you from tracking the target.
Practice that transition against the Dummy before taking it into FFA. Gaining height and landing an attack are separate skills; use the mace and Manespear aerial attack guide for the full attack sequence and weapon timing.
After an arena change, reassess high ground, passages and landing areas before repeating a route. The maps and Northern Council routes guide covers the terrain and rotation.