
Recruits
- Difficulty
- Easy
- Soldier armor
- Leather
- Soldier trim
- None
- General
- None
More details
- Challenge
- Warm-up against new recruits.
- Soldier weapon
- Iron Sword
- Soldiers use an Iron Sword
- Sword (Recruits configuration)
Last updated:
Simulator pits you against armies that fight back and heal. Choose a challenge by difficulty, configure your soldiers and equipment, and enter alone or with a party.
8 objects
Compare Simulator armies by difficulty, soldier armor and commanding general before choosing a battle.
NULL Army
Cindercrest Army
The eight armies span four difficulty labels: Easy, Normal, Hard and Insane. Compare their soldier armor, trims and commanding generals in the army directory. Armies sharing a difficulty label are in the same category; the label does not rank them against one another.
Use the difficulty filter to narrow your choices. For complete battle routes, open the NULL and JamatoP strategy or Cindercrest and Saparata strategy.
If basic attacks and movement still feel awkward, use the Practice Dummy before taking on a large army. Simulator soldiers can attack and heal, so a crowded fight adds pressure that a stationary target does not.
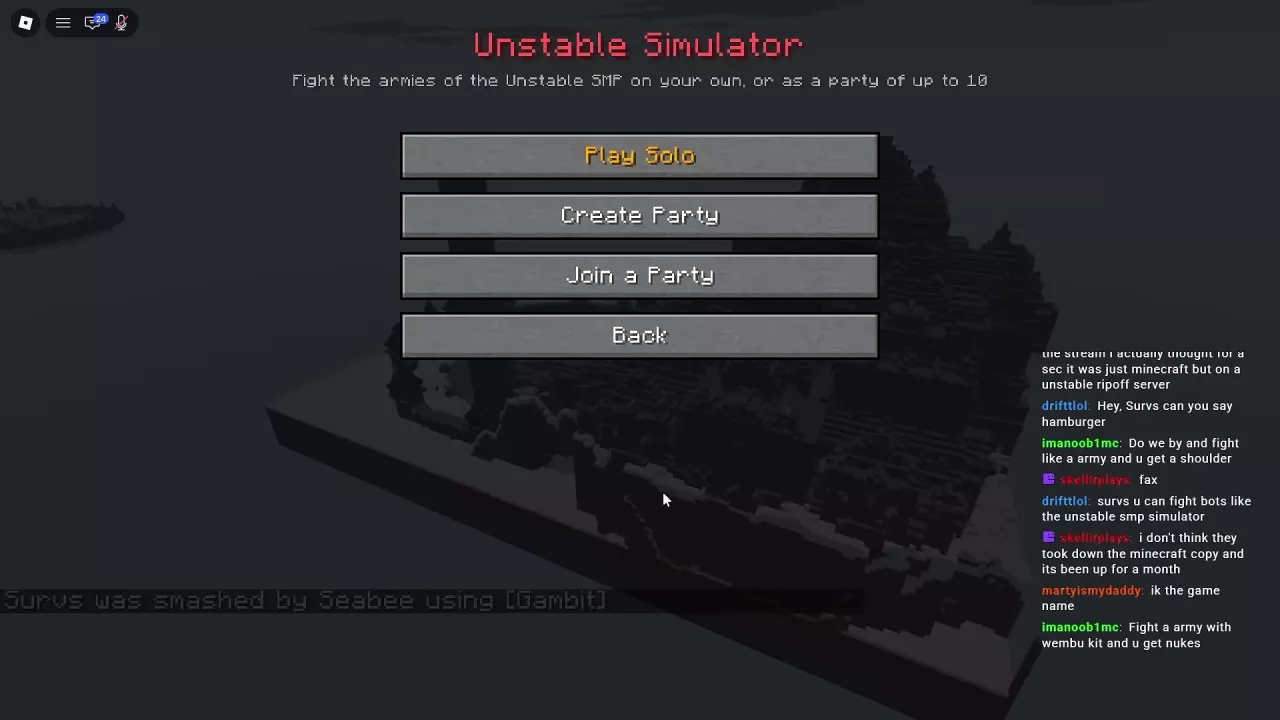
For multiplayer, choose Create Party to start a party or Join a Party to enter the joining flow. The party limit is 10 players total, including you.
Select Back on the Simulator entry menu to return to the main menu.
| Army and setup | Soldiers | Map | Own Armour | Own Sharpness | Character |
|---|---|---|---|---|---|
| Recruits starting setup | 10 | Northern Council | Leather | None | Choose a character |
| NULL solo setup | 100 | Northern Council | Iron | 2 | Choose a character |
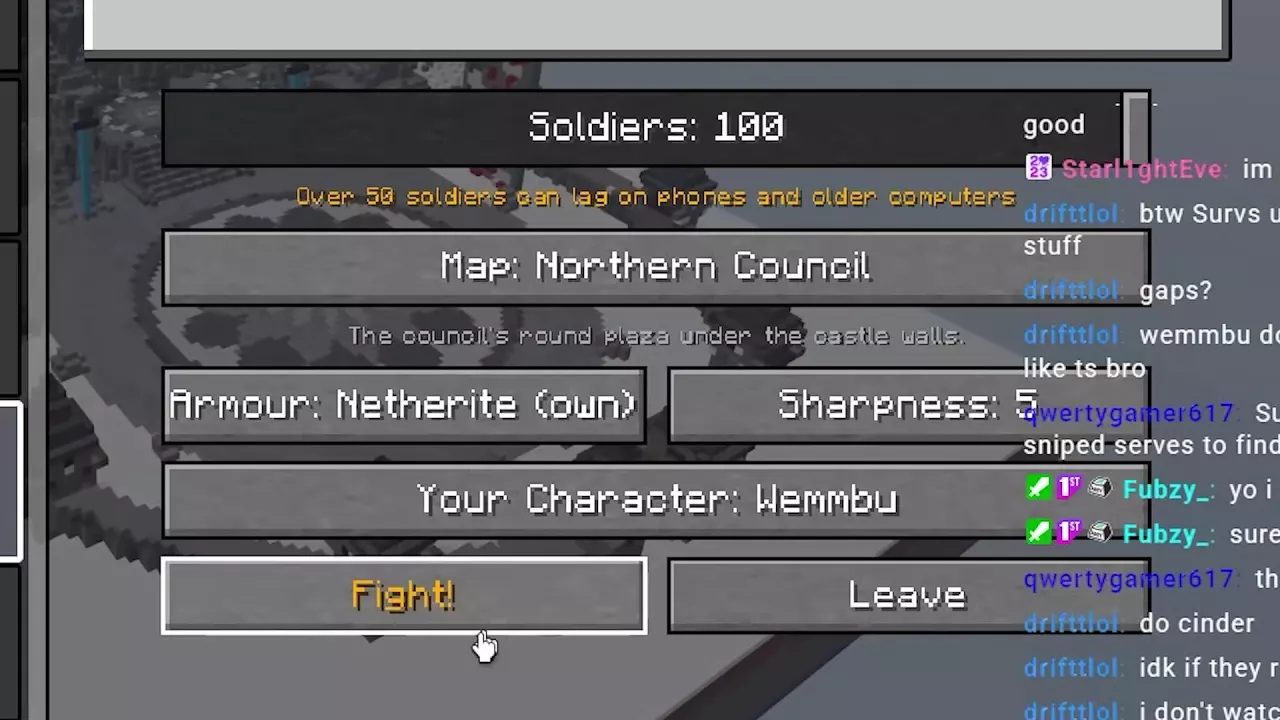
| Cindercrest solo setup | 100 | Northern Council | Netherite | Raised from 4 to 5 | Wemmbu |
The Recruits configuration is a useful starting point for a small warm-up. The Cindercrest configuration matches the setup used by the Wemmbu solo strategy; its bombardment approach also needs separately obtained consumables.
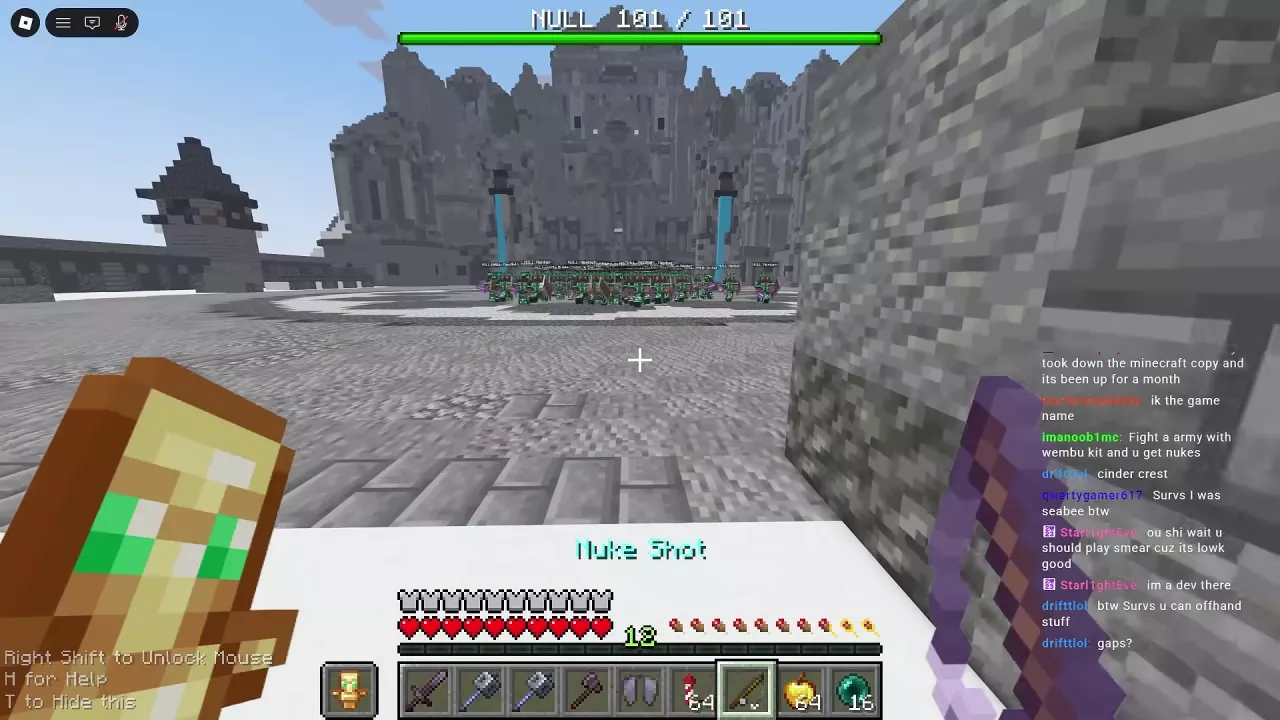
Wemmbu is a useful choice if you can already control Elytra flight. Elytra and Firework Rockets help you disengage, Golden Apples support recovery, an offhand Totem of Undying provides survival protection, and his maces give you a finishing option against survivors. Practice the flight and movement controls before relying on them while surrounded.
Arrange movement equipment, healing, a replacement chestplate and attack supplies where you can reach them quickly. Keep track of whether Elytra or the chestplate occupies your chest slot, and prepare your escape before health becomes critical.
Nuke Shots are separate supplies, not a built-in Wemmbu attack. If an Orbital Box is available, collect the Shots you need before the army closes in. Each Nuke Shot is consumed on use, so repeated bombardments require multiple copies. See Shot sources and usage for acquisition and activation instructions.
For a large fight, follow this basic sequence:
Nuke explosions can leave deep craters, so plan your return to close combat around the changed terrain. For the complete infantry and general encounters, follow the NULL and JamatoP route or the Cindercrest and Saparata solo route.
The Soldiers setting warns that more than 50 soldiers may cause lag on phones and older computers. On those devices, choose 50 or fewer for a smaller battle outside the menu's warning range. This reduces battle size; 50 is not a guaranteed smooth-performance threshold.
The warning does not prevent you from choosing the 100-soldier maximum. Keep that setup limit separate from the in-battle enemy counter: the 100-soldier NULL and Cindercrest encounters began at 101/101. Read the slider as your configured soldier count and the combat counter as the enemies remaining in that encounter.
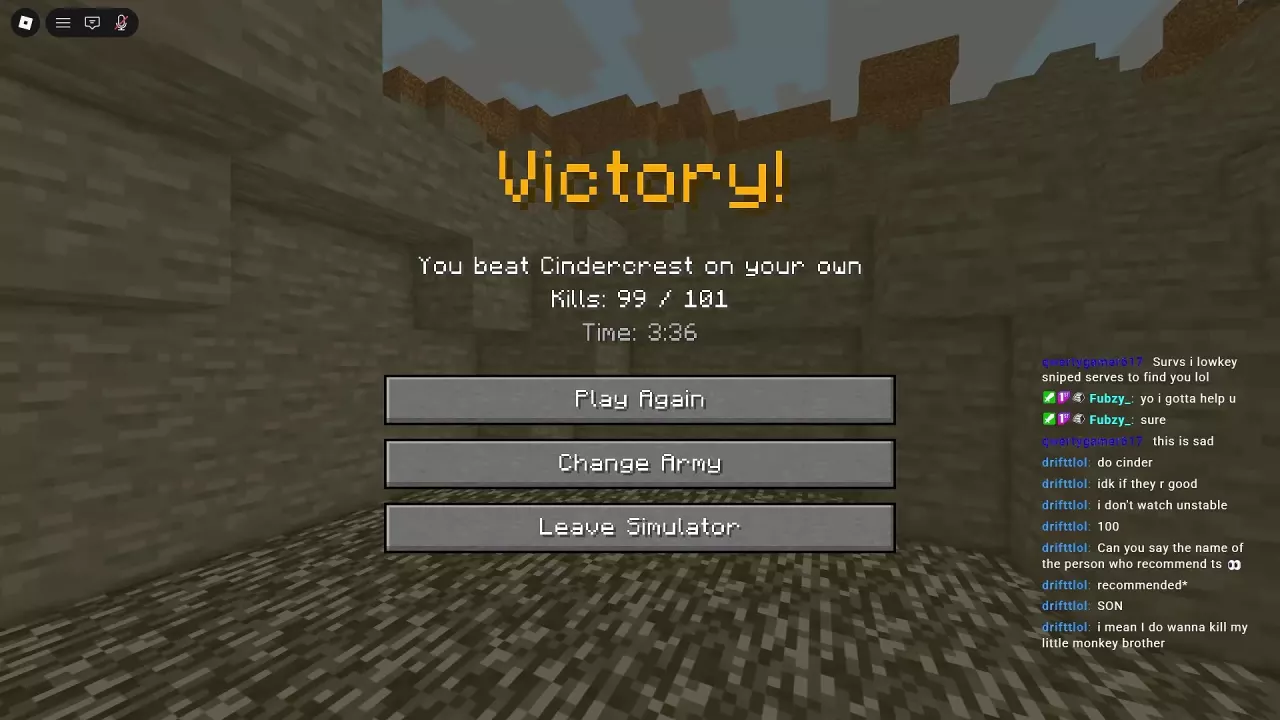
After a victory, the results screen identifies the defeated army and displays Kills and Time. Choose your next action:
A completed Cindercrest solo battle can show Kills: 99/101 alongside the victory message. Personal Kills do not have to read 101/101 for that result to count as a win; use the completion screen to recognize victory rather than treating the personal kill fraction as a separate requirement.
Beat NULL in Unstable SMP FFA with a solo Northern Council strategy: stock Nuke Shots, clear grouped soldiers, recover in the air and finish JamatoP.
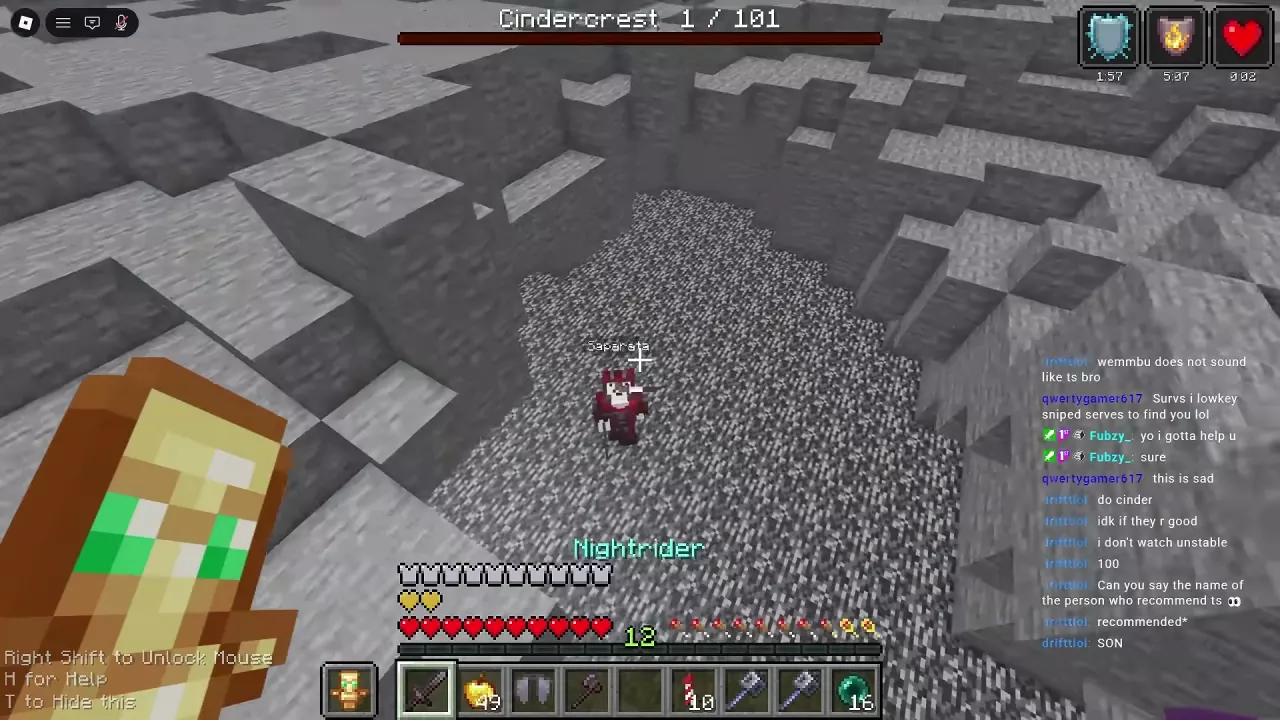
Beat Cindercrest solo in Unstable SMP FFA with Wemmbu, repeated Nuke Shots and aerial healing, then defeat Saparata through short engagements.
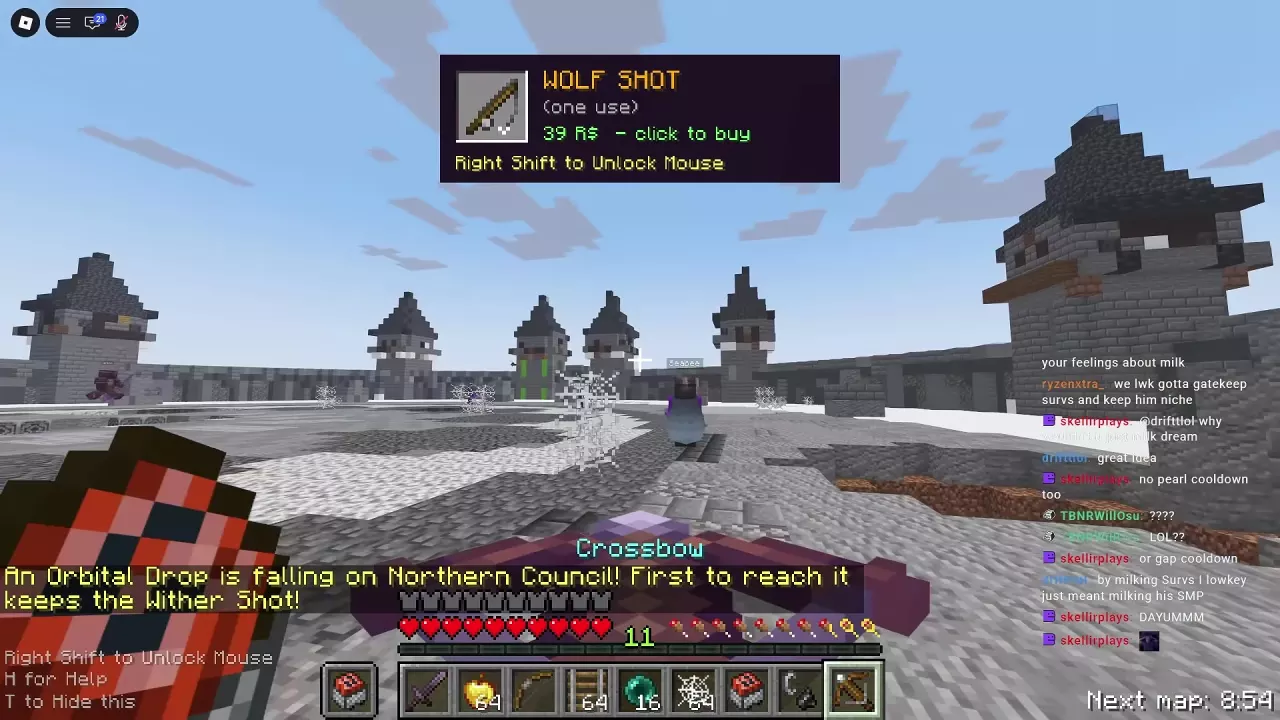
Compare all four Unstable SMP FFA Shots, their Robux prices and acquisition routes. Learn to collect Nuke Shots from an Orbital Box and use Nuke or Wolf.
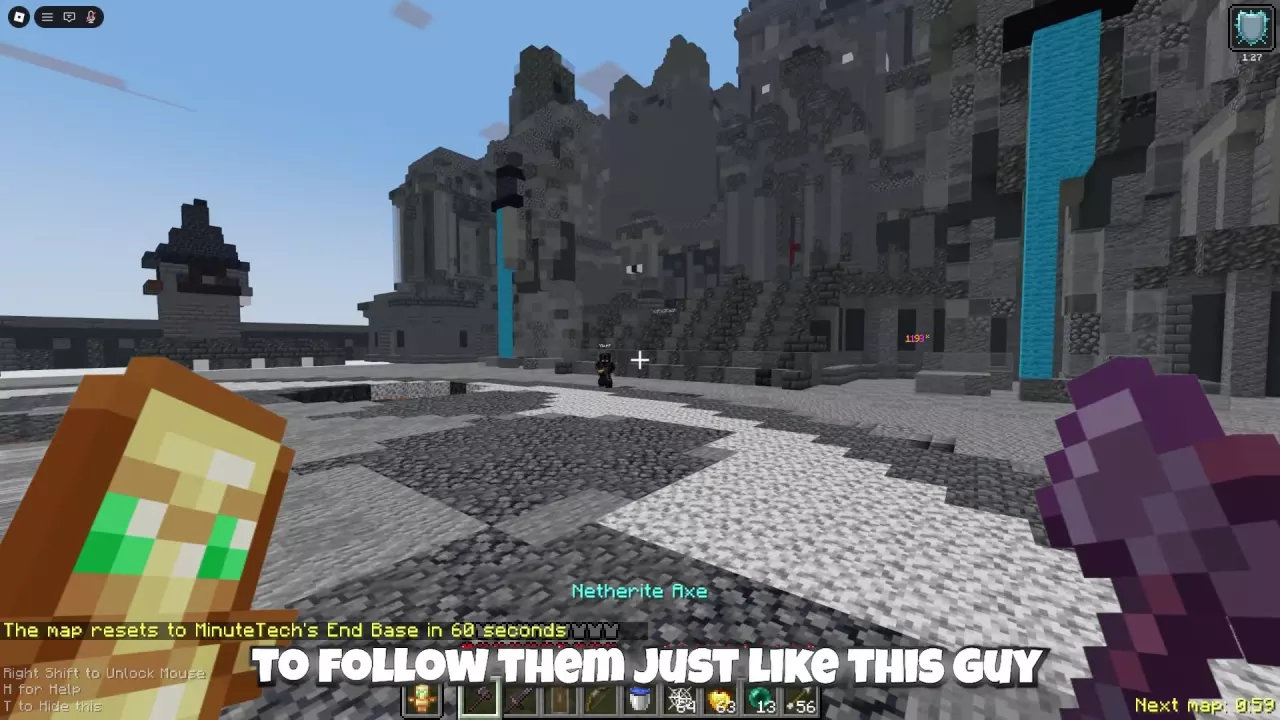
Explore the three Unstable SMP FFA maps, check the 15-minute rotation timer, and use Northern Council's castle-side high ground.
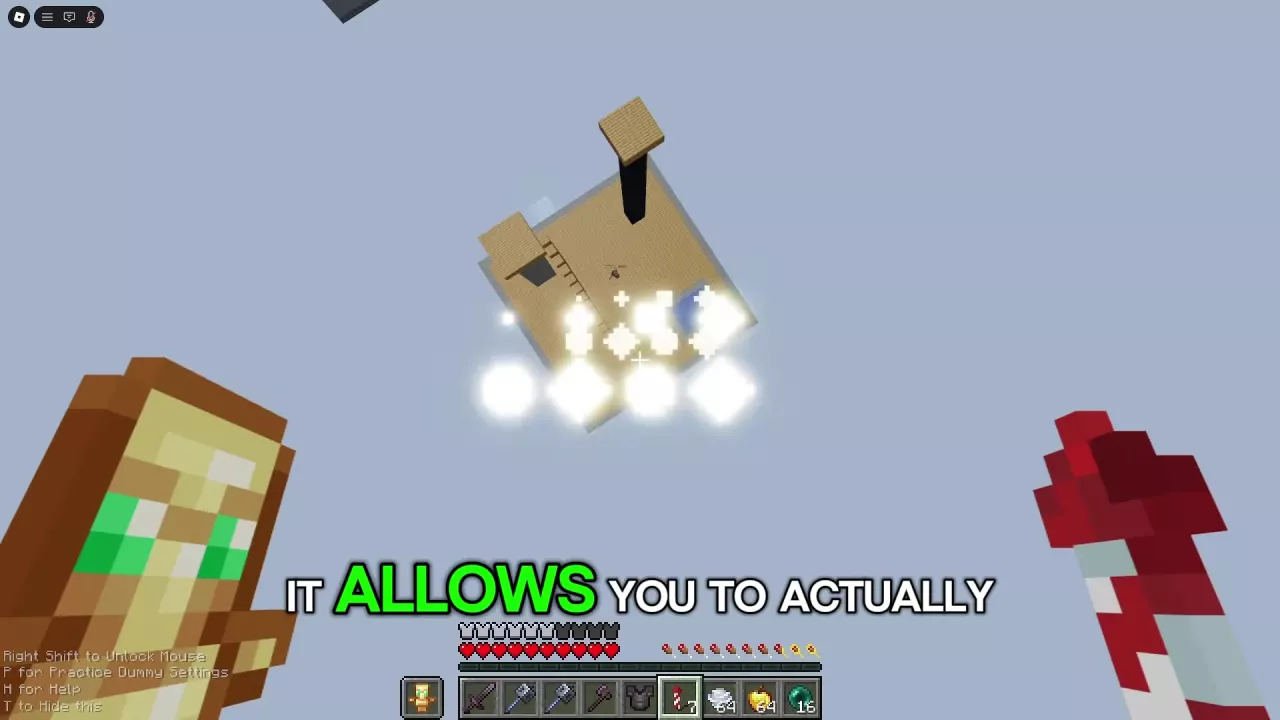
Learn how to fly with Elytra and rockets, gain height with Wind Charges, chase or escape with Ender Pearls, and perform the Alien wind charge.
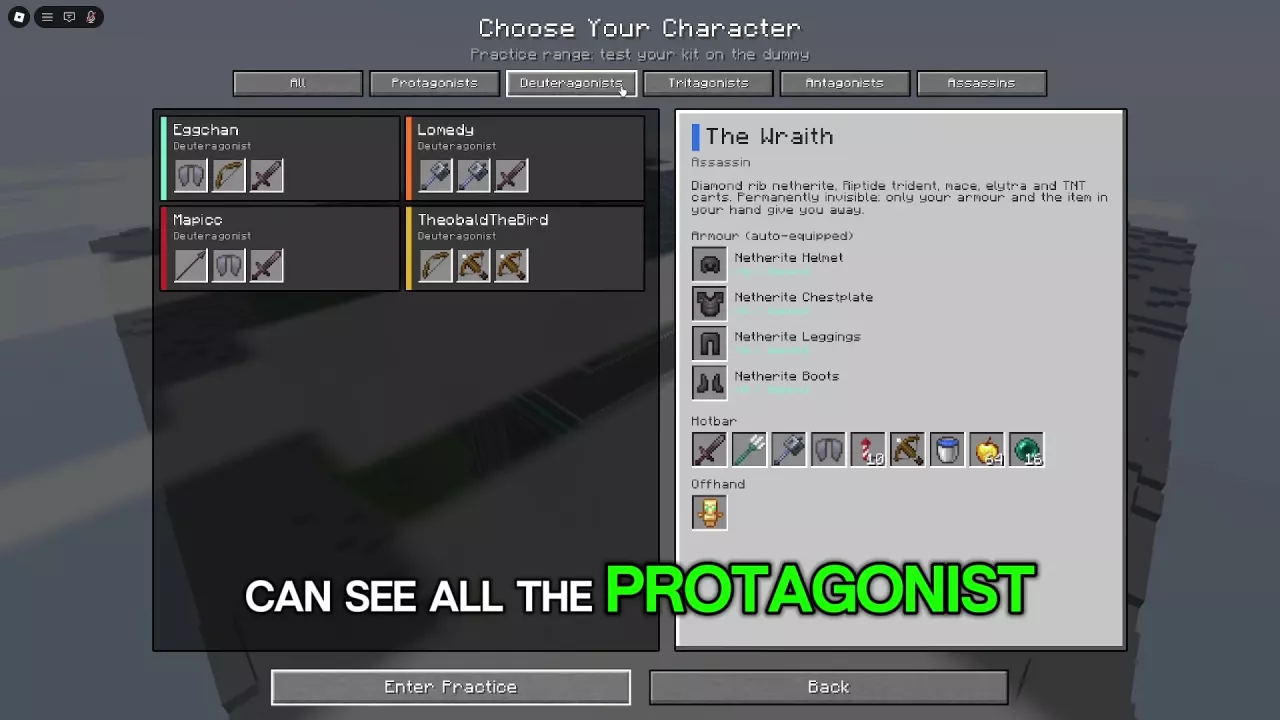
Browse Unstable SMP FFA characters and preset kits. Compare ground combat, flight, TNT carts and Wraith invisibility, then find the right unlock guide.
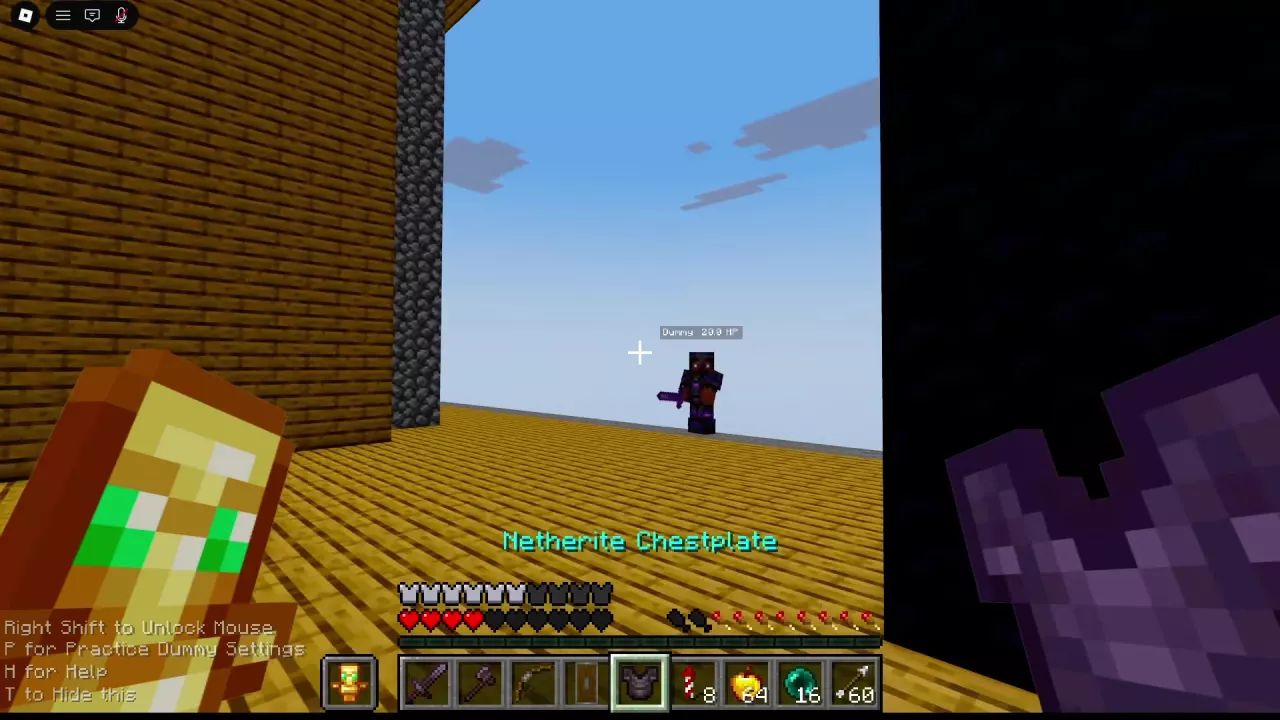
Enter Unstable SMP FFA practice mode, open Dummy settings, and practice attack distance, timing, movement, and item switching.