How to Beat NULL and JamatoP in Unstable SMP FFA
Last updated:
NULL fields shield-bearing infantry under General JamatoP. For the 100-soldier Northern Council battle, prepare for two stages: bombing the clustered army, then fighting the surviving general across the damaged arena.
Prepare for NULL on Northern Council
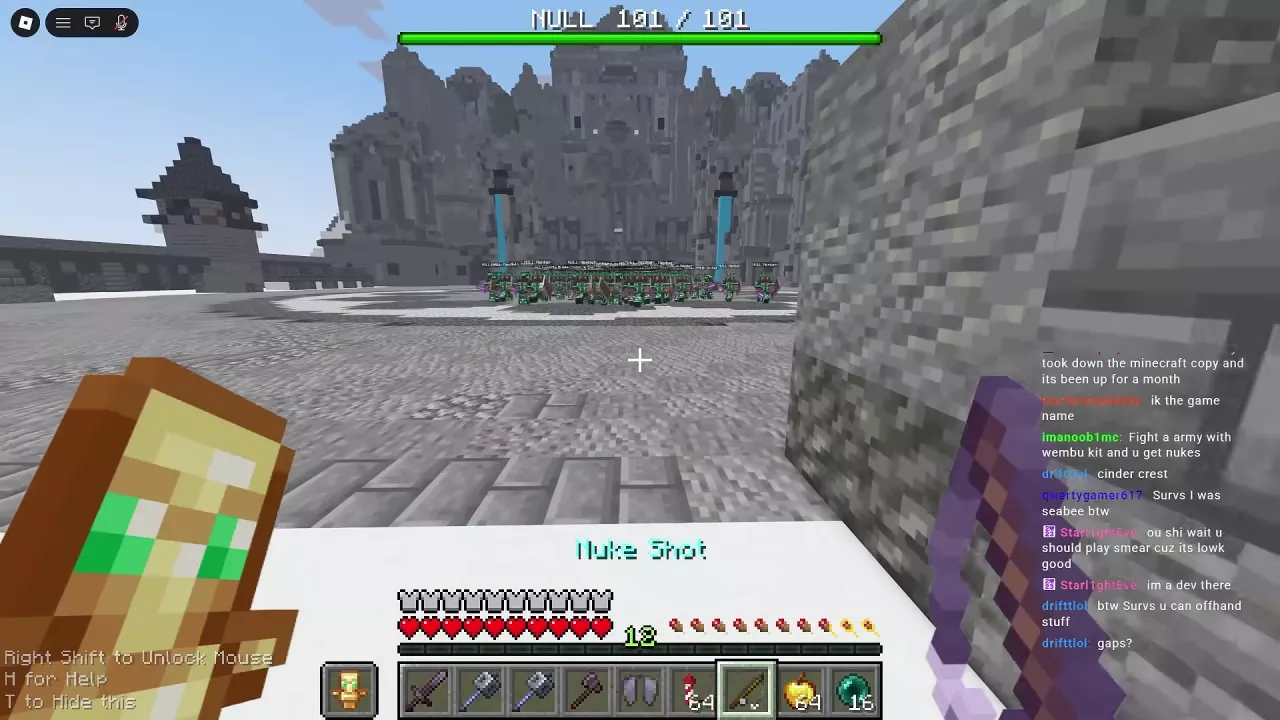
NULL is a Normal army. Its soldiers wear Iron armor with emerald Flow trims, block with shields, and carry Sharpness II Iron Swords plus one Golden Apple per soldier. General JamatoP commands from the rear with his own kit. Expect a crowd that can block and recover, making group bombardment a useful way to clear the infantry before engaging the general.
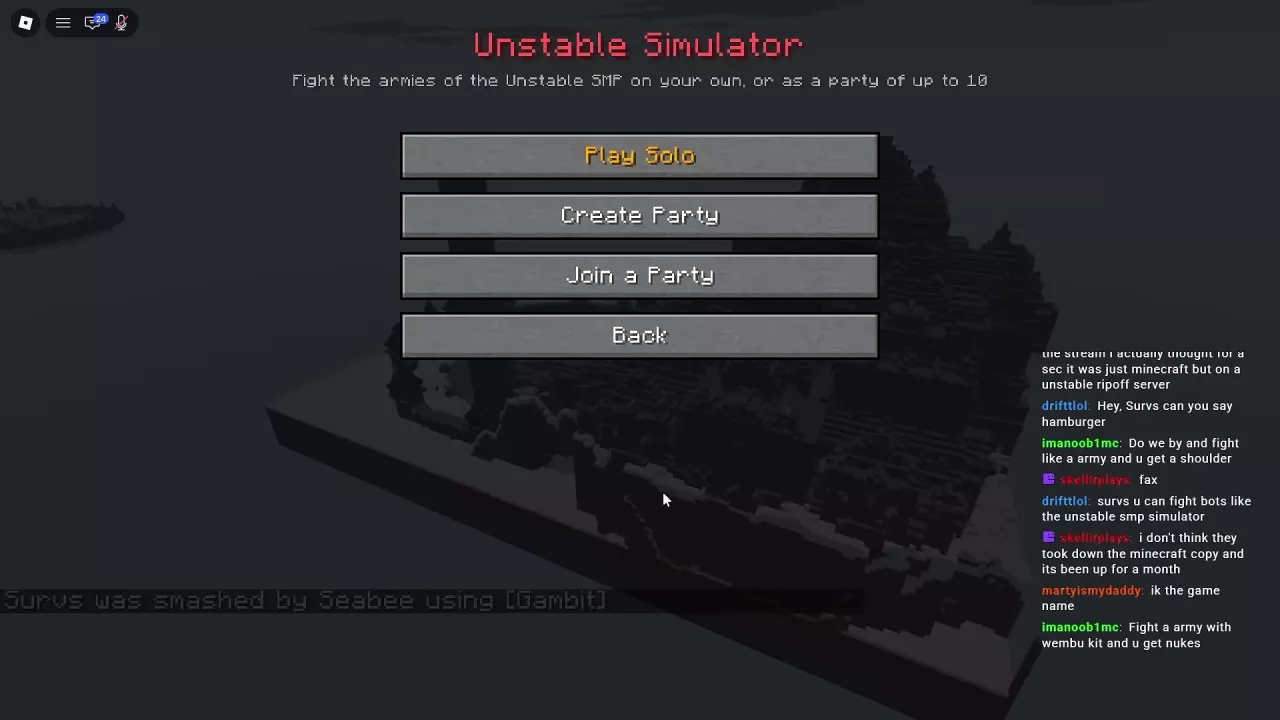
- Enter Simulator and choose solo play.
- Select NULL, set the map to Northern Council, and set Soldiers to 100 for the large-army route.
- Choose a loadout with the movement, recovery and finishing equipment below, then start with Fight!
Prepare these supplies:
- Multiple Nuke Shots: for successive attacks on grouped soldiers. This route requires access to an Orbital Box containing Nuke Shots.
- Elytra and Firework Rockets: to leave melee range and move above the arena.
- Golden Apples: to recover between attacks.
- A Netherite Chestplate: to switch back to armor when returning to fight.
- A finishing weapon: Crucible delivered the final kill in the 100-soldier example.
Above 50 soldiers, the setup screen warns that phones and older computers can lag. If you need to practice movement first, use the 10-soldier route. For the broader setup menu and army comparisons, see Simulator armies and battle setup.
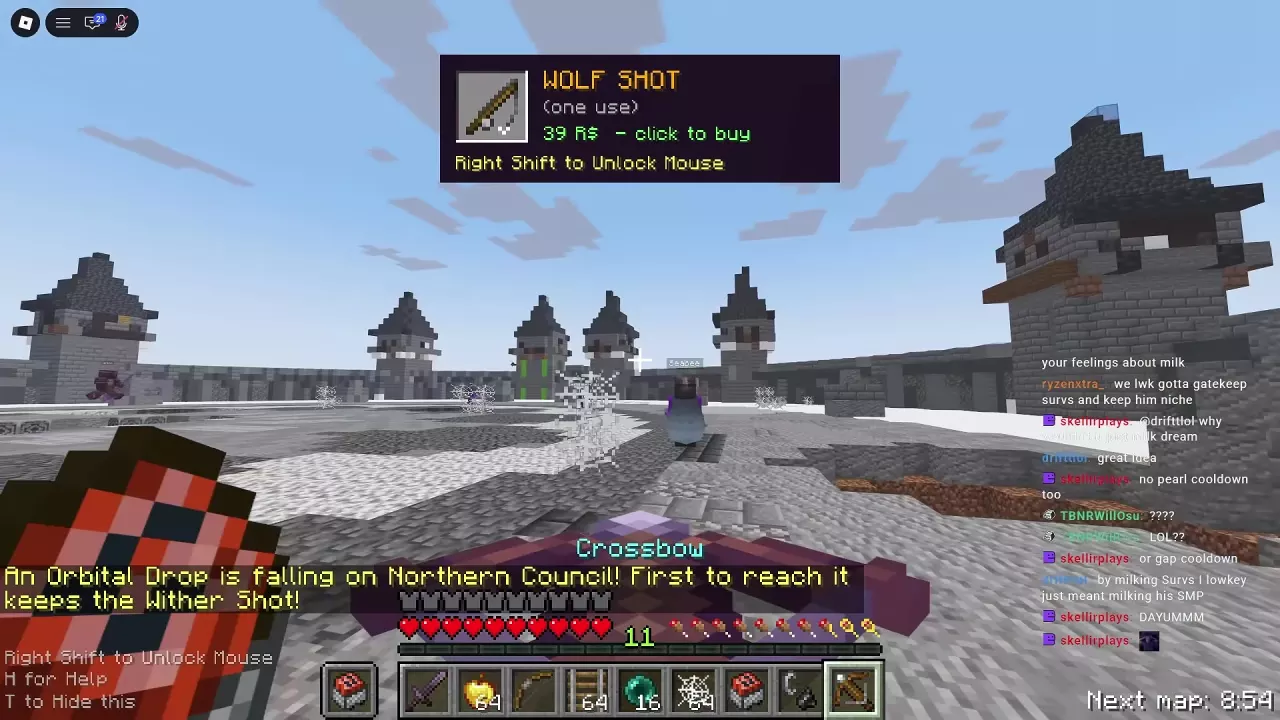
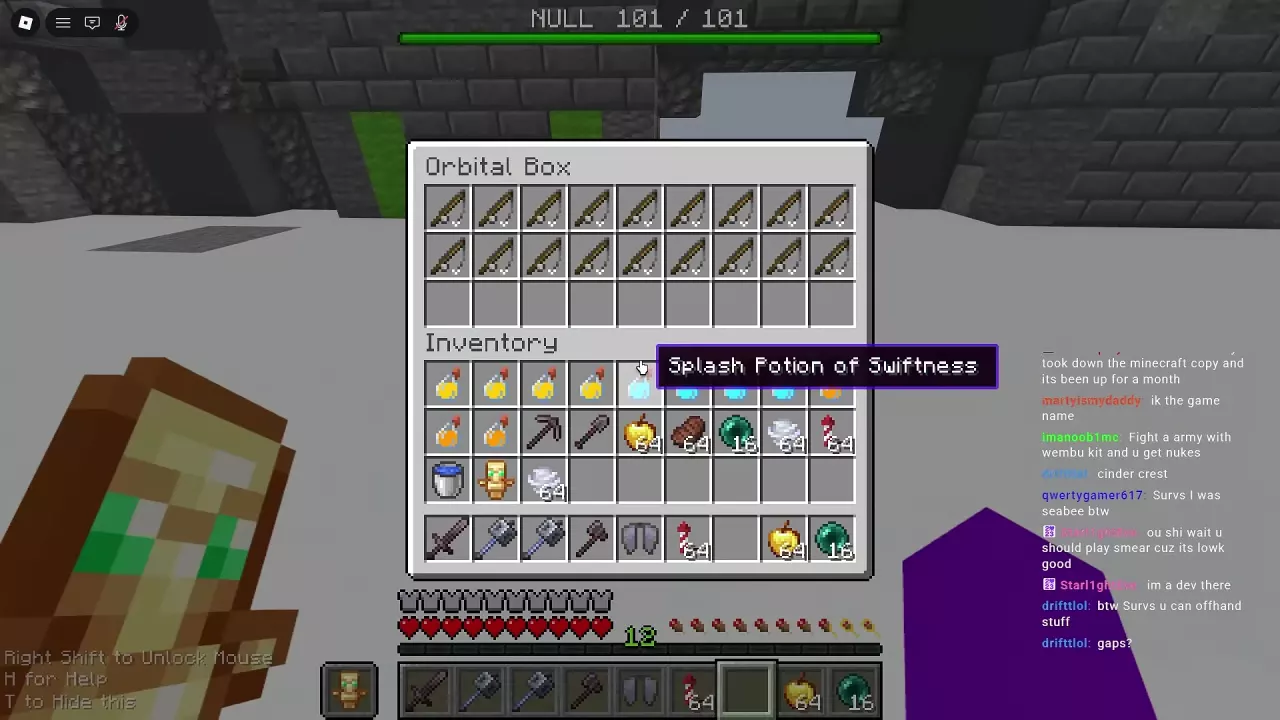
Take Separate Nuke Shots from the Orbital Box
When a purple Orbital Box is available in your Simulator battle, stock up before the approaching soldiers surround you.
- Open the Orbital Box.
- Check item names and transfer several Nuke Shots into your inventory. Nuke Shot and Stab Shot both have rod-shaped appearances, so identify them by name.
- Put a Nuke Shot in an accessible hotbar slot and keep additional copies in reserve.
- Keep your Elytra, rockets and apples accessible alongside it so you can leave the crowd after attacking.
Each Nuke Shot is consumed after one use. A second bombardment needs another item from your inventory. For other Shot options and acquisition routes, see Shots: prices, sources and uses.
Bomb the Group, Fly Clear and Recover
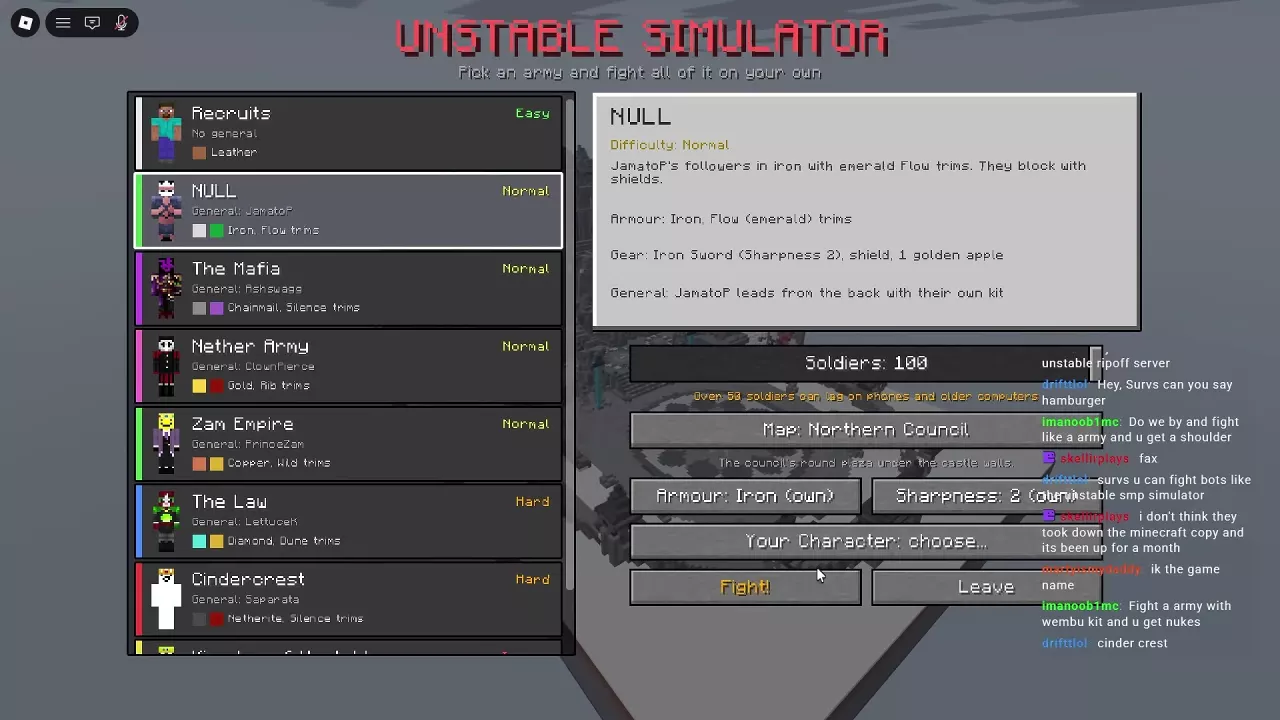
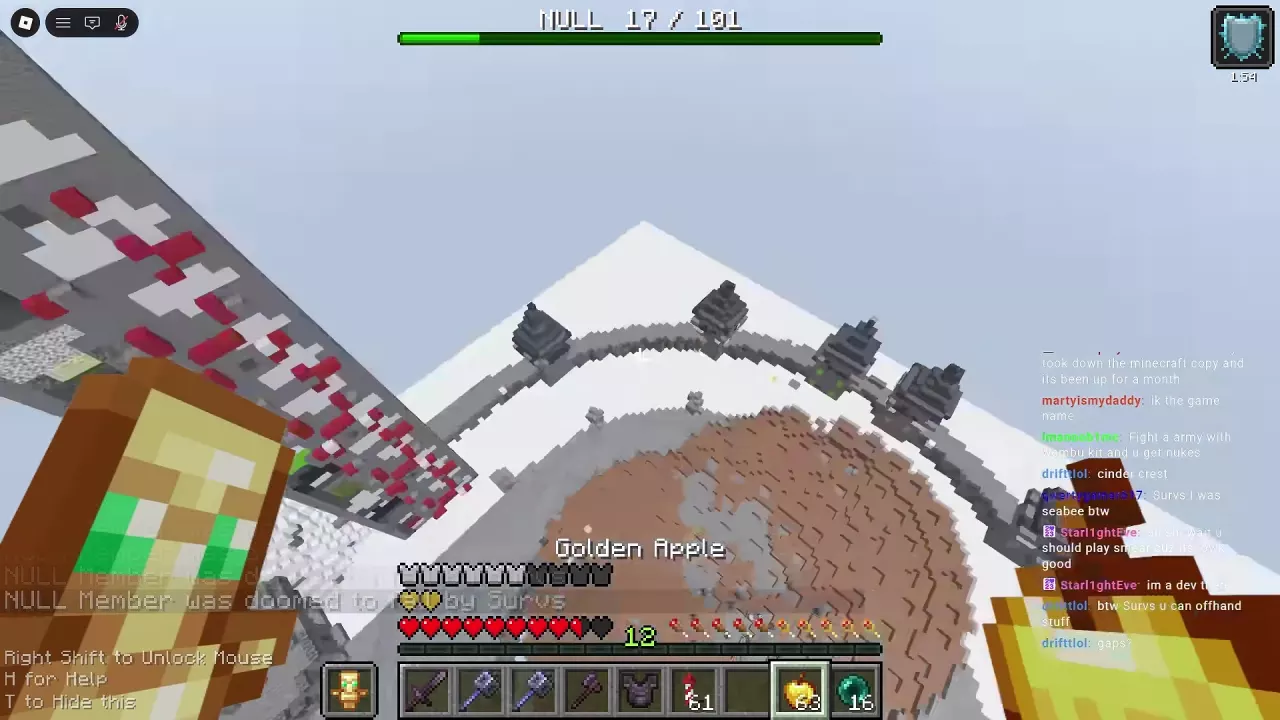
Aim at the clustered infantry to make use of Nuke Shot's TNT bombardment. Keep your escape tools ready: the opening exchange can cost health while the army closes in.
- Select Nuke Shot and use it toward the group. TNT spreads over the target area and explodes.
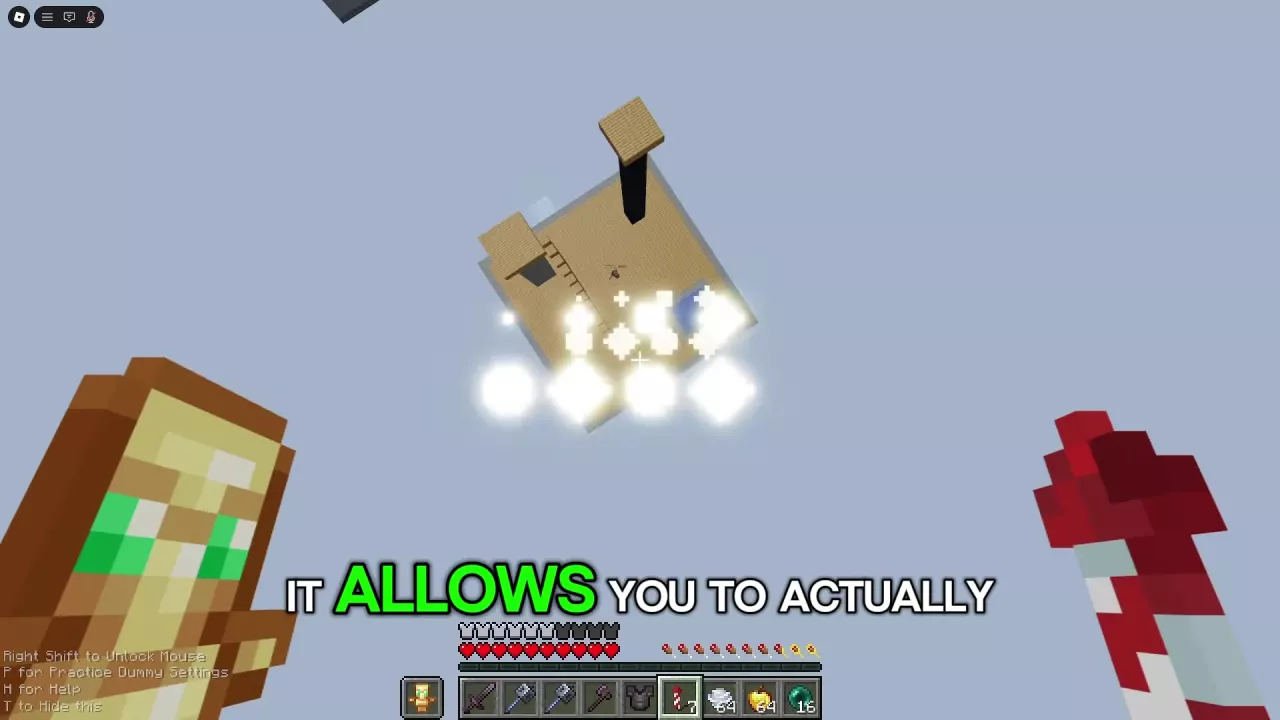
- Equip Elytra and use Firework Rockets to move clear. Gain separation from the soldiers instead of remaining in the melee as the bombardment unfolds.
- Eat a Golden Apple while airborne. Recover before committing to another attack.
- Select a fresh Nuke Shot and attack the remaining cluster. Continue tracking the enemy counter as the explosions resolve.
- Return toward the arena edge and locate the survivors. When only JamatoP remains, move to the general fight.
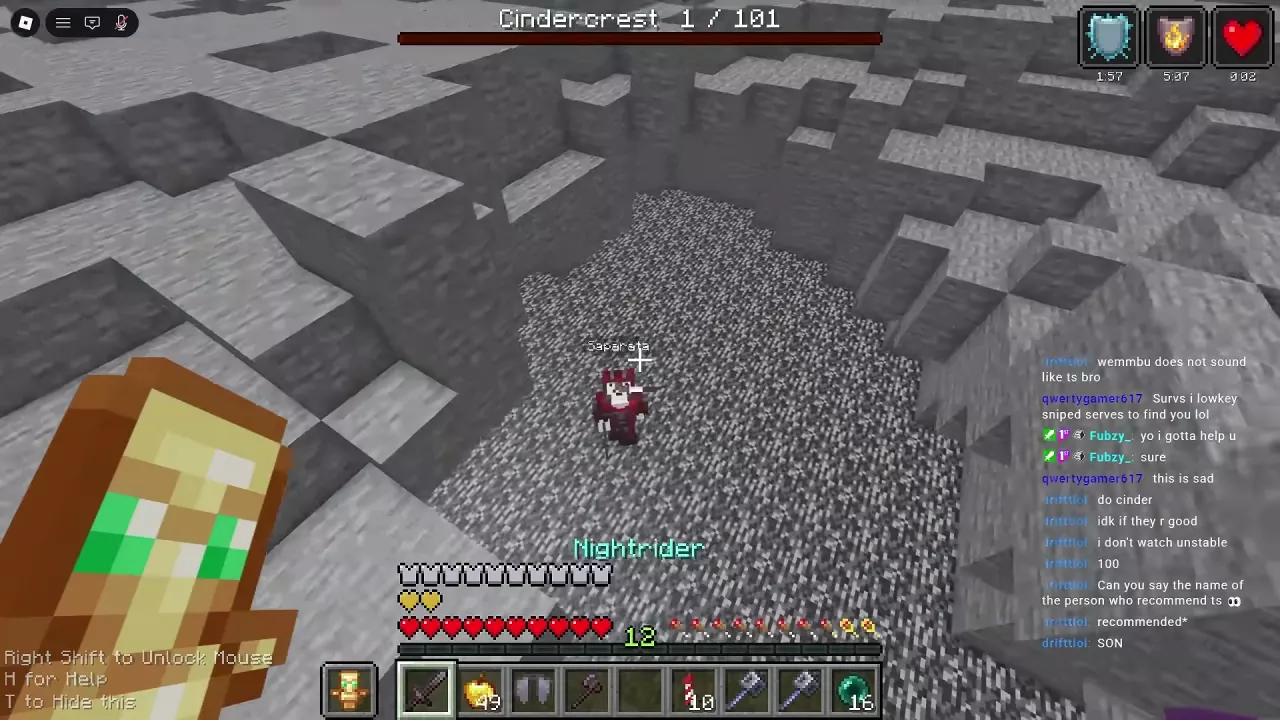
In the 100-soldier Northern Council example, the counter started at 101/101, fell to 17/101 after the opening bombing phase, and reached 1/101 after recovery and further bombing. Use the counter to decide whether you still need to clear a group or search for the last enemy; these stages are encounter results, not fixed kills per Shot.
The bombardment can tear the floor into deep craters. Look at the ground before landing or pursuing a survivor, and use flight to cross broken sections. If maintaining height is the difficult part, practice the controls in the Elytra, Wind Charge and rocket movement guide.
Finish General JamatoP
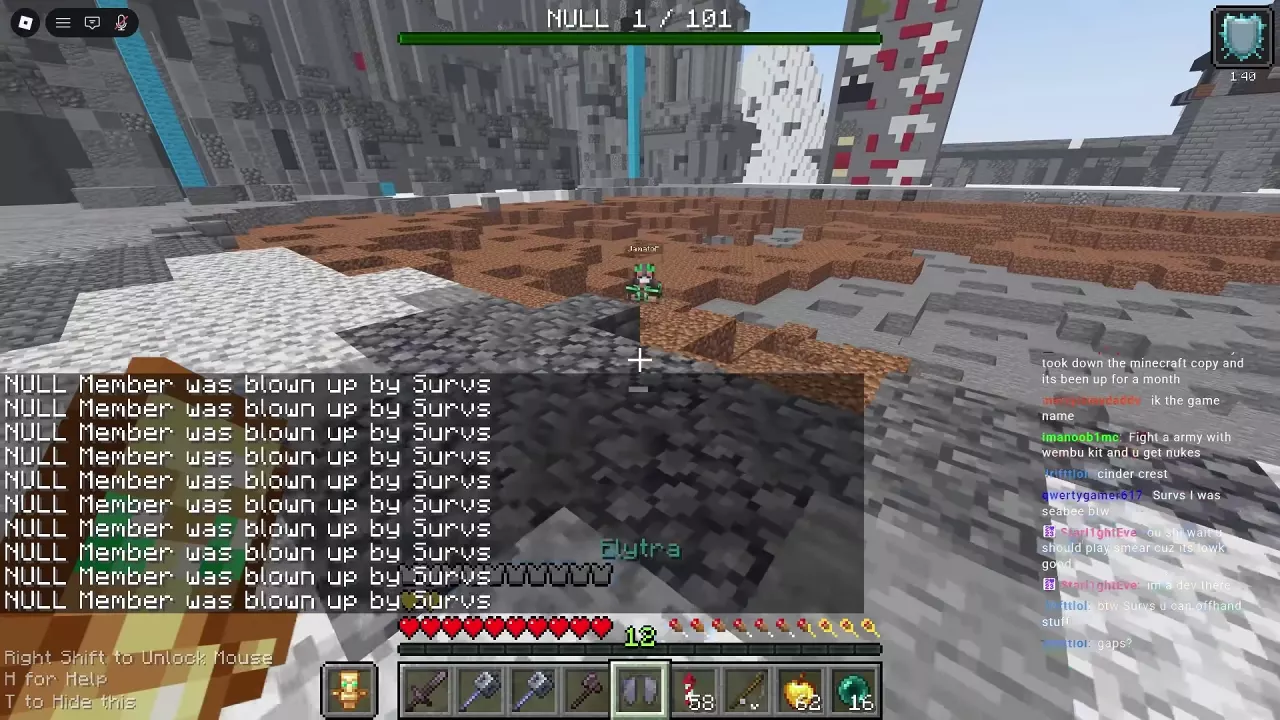
At 1/101 in the 100-soldier example, JamatoP was the remaining enemy. Look for his name in the damaged arena and shift from crowd bombardment to short engagements with room to retreat.
- Organize your hotbar before closing in. Keep your weapon, Elytra, Netherite Chestplate, Firework Rockets and Golden Apples easy to reach.
- Approach for a short attack. Use the chestplate when returning to close combat, switching the chest slot back to Elytra when you need to leave.
- Fly above the arena with Elytra and rockets. Create distance from JamatoP and reposition across the broken ground.
- Eat a Golden Apple after taking damage. Recover before returning for another engagement.
- Re-engage and finish the general. Crucible delivered the finishing kill in the example, changing the NULL counter to 0/101.
The useful rhythm is to attack, disengage, recover and return. Keep both chest-slot options accessible so a retreat does not turn into a long inventory search. See armor and Elytra choices for the equipment tradeoff.
Practice the Castle-Side High-Ground Route
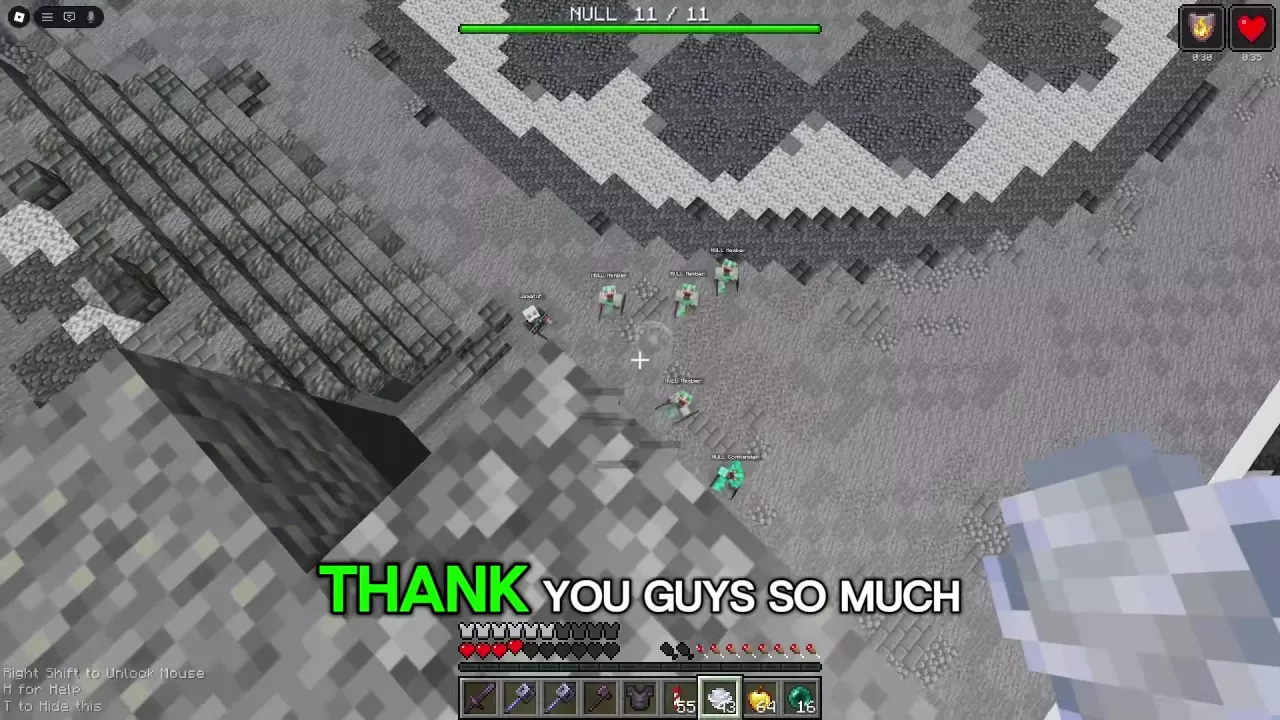
Use a 10-soldier NULL battle on Northern Council to practice getting above pursuers and keeping them in view. Bring Wind Charges and the Elytra–Firework Rocket movement tools.
- As soldiers approach in the circular arena, use Wind Charges to gain height above them.
- Move toward the castle-side elevated positions, using Firework Rockets during the aerial move.
- Look down to locate the enemies gathered below, then adjust your position with Wind Charges.
The 10-soldier example remained at 11/11 during this repositioning. Treat this as an escape and positioning exercise: gaining height does not clear the army, and an elevated position is not a guaranteed safe spot. For more terrain context, see Northern Council routes and arena terrain.