Shots are consumable combat items available through the Shop, VIP bonuses and mode-specific supplies or rewards. Choose a Shot for your fight, then prepare it in your hotbar before engaging.
Browse the directory
4 objects
Compare one-use Shot prices, acquisition routes and combat uses.
Stab Shot
STAB SHOT
Shop price
29 Robux
Uses per item
1 use
Acquisition
Shop; one included with VIP
Effect
—
Advertised waves
—
More details
Type
One-use Shot
Held appearance
Rod-shaped
(Simulator)
Identification
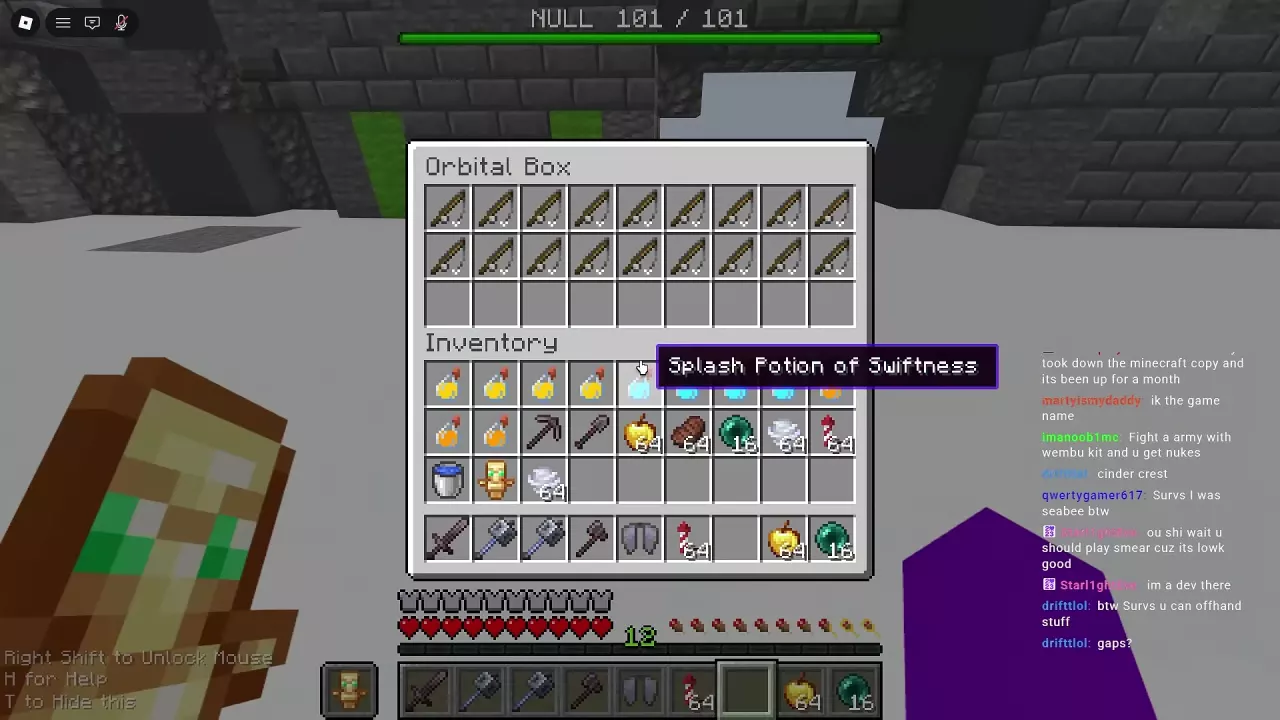
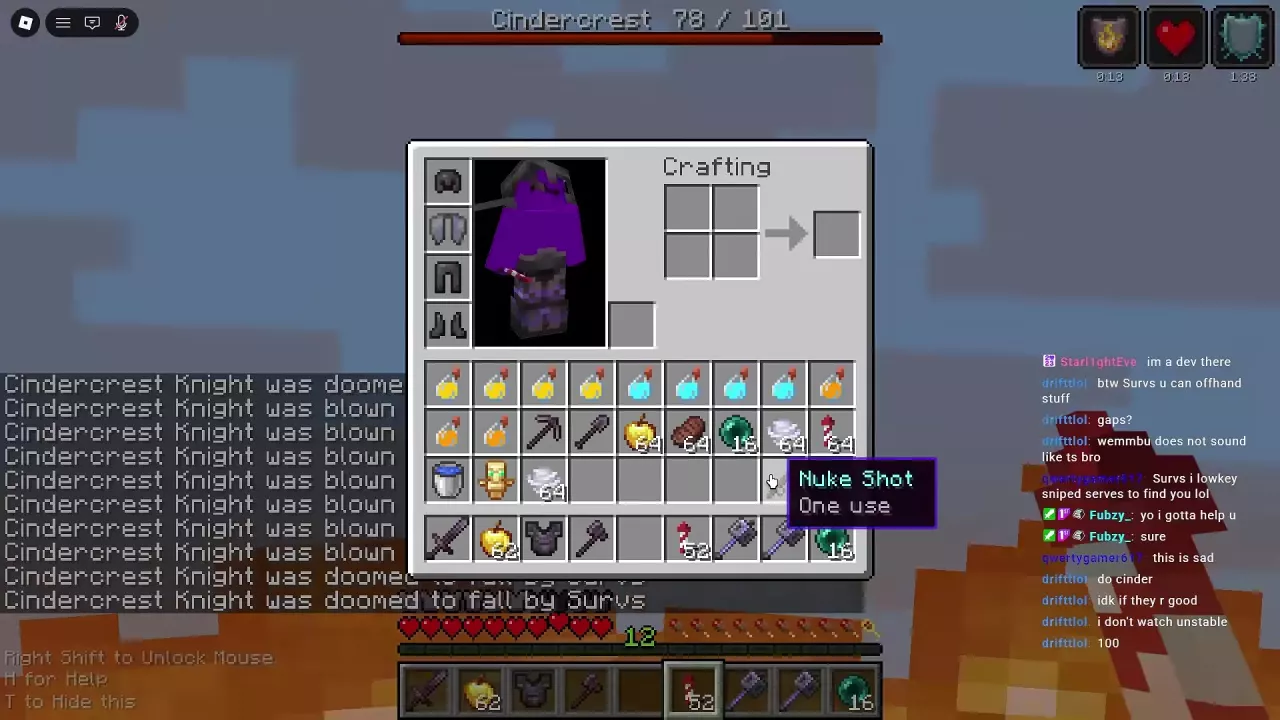
Check the inventory tooltip to distinguish Stab Shot from a similar-looking Nuke Shot.
(When selecting rod-shaped Shots)
Included with
1 × VIP (VIP bonus)
Nuke Shot
NUKE SHOT
Shop price
49 Robux
Uses per item
1 use
Acquisition
Shop; one included with VIP; Orbital Box in Simulator
Effect
Releases a large TNT bombardment that can kill grouped soldiers and destroy terrain.
(Simulator)
Advertised waves
—
More details
Type
One-use Shot
Held appearance
Fishing rod-shaped
(Simulator)
Consumption
The used item disappears; successive attacks require additional copies.
(Simulator)
Combat use
Attack clustered enemies from above, reposition with Elytra and Firework Rockets, and use another copy if needed. Explosions can leave deep craters and surviving enemies.
(Simulator encounters against NULL and Cindercrest)
NULL encounter example
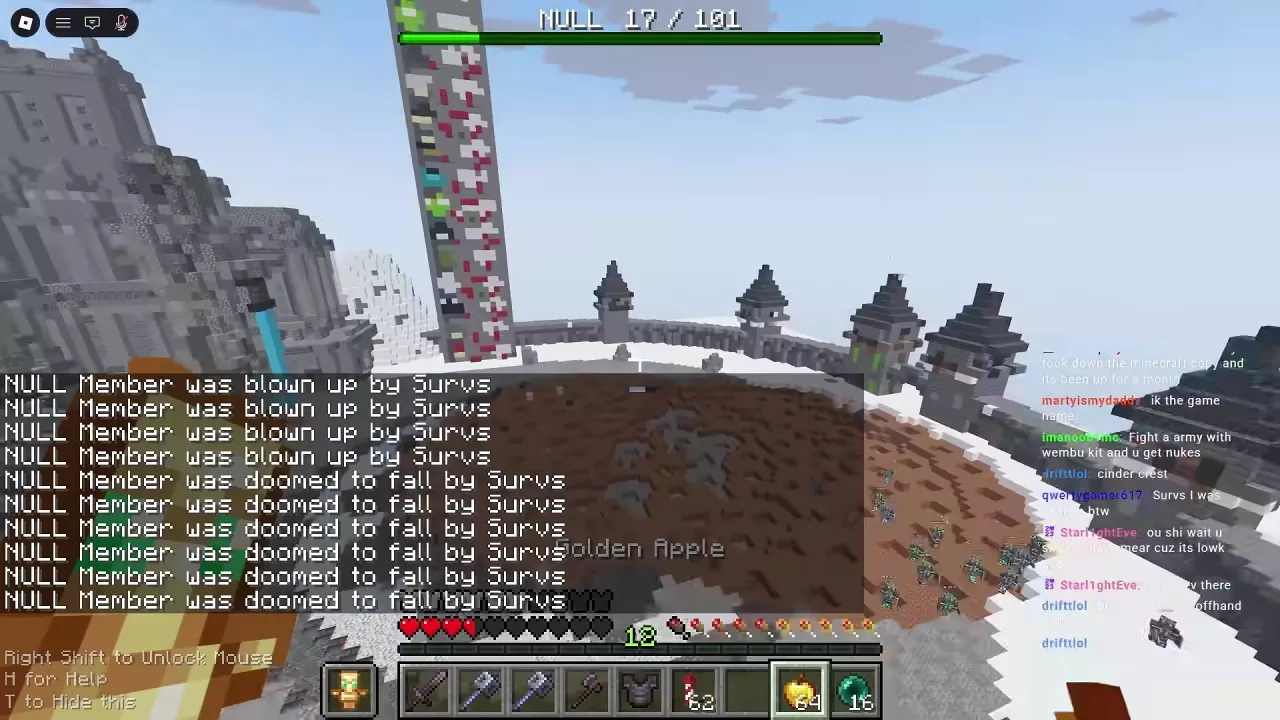
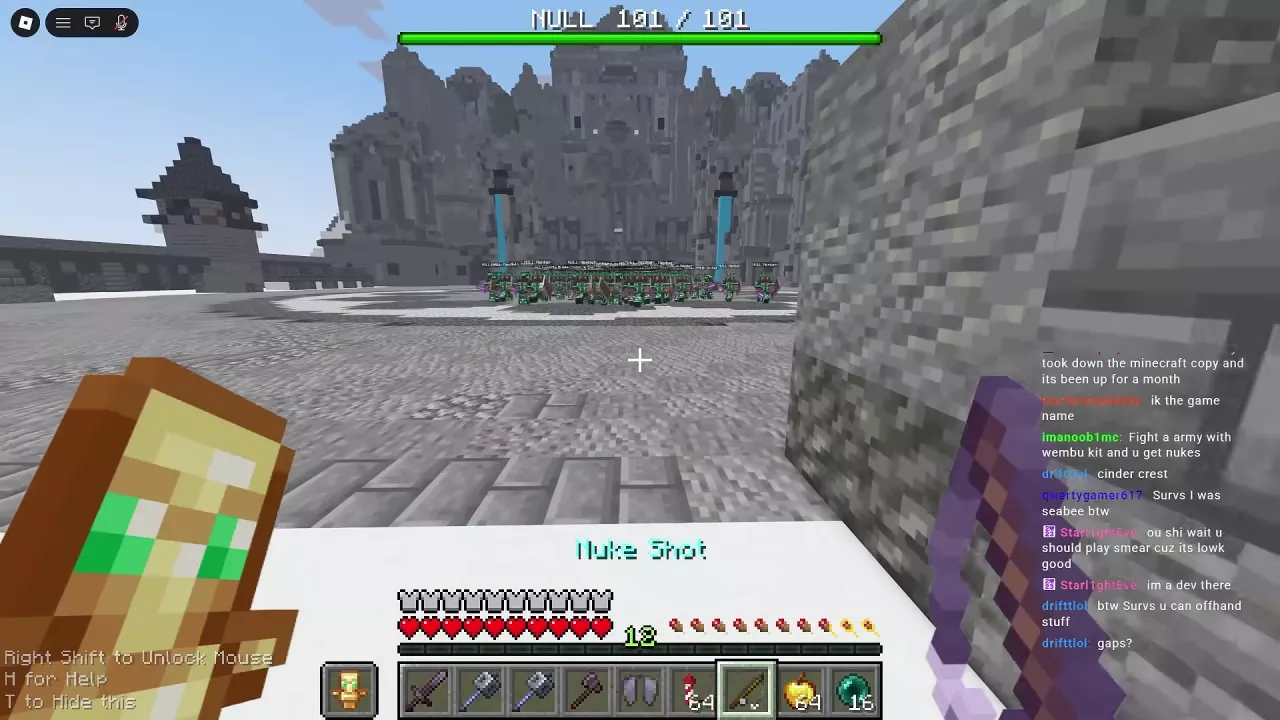
The counter fell from 101/101 to 17/101 after a bombardment, then from 17/101 to 1/101 after another Shot.
(Individual Simulator encounter results, not fixed damage or kills per Shot)
Cindercrest encounter example
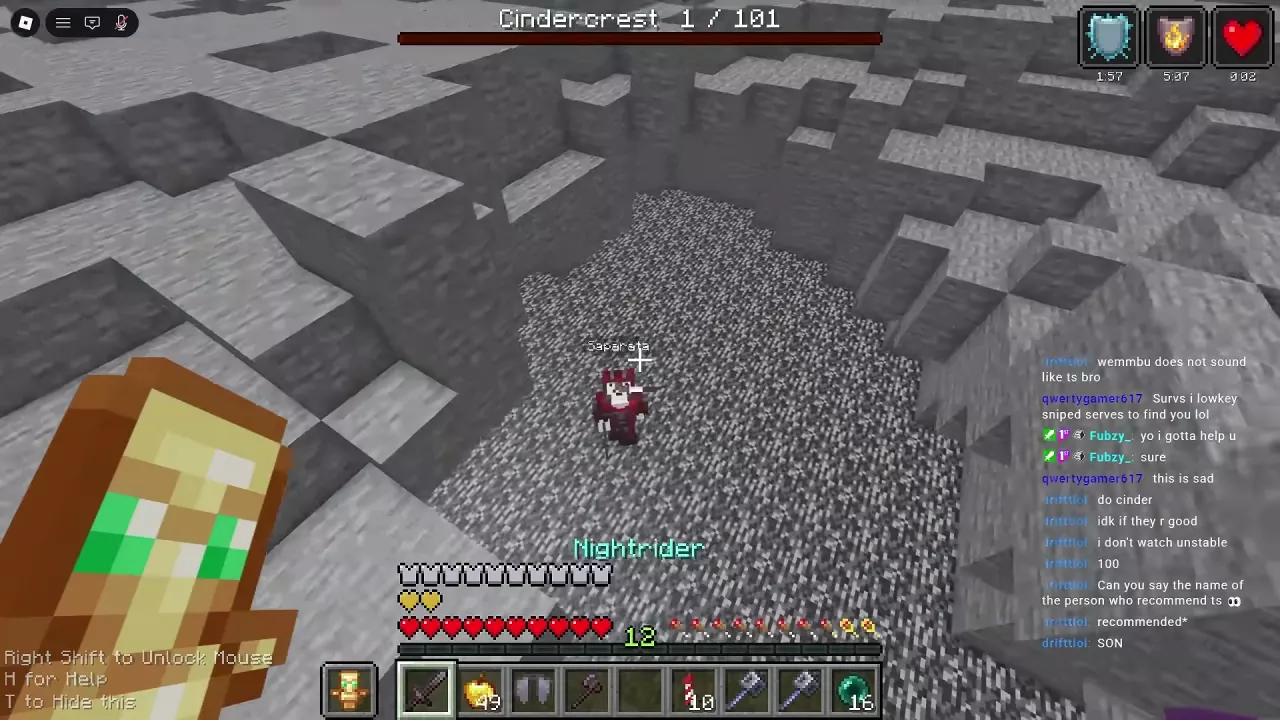
Repeated aerial bombardments reduced the counter from 101/101 to 18/101, followed by 18/101 to 9/101. A later final Shot reduced 2/101 to 1/101. Kill messages included explosion and fall deaths.
(Hard Cindercrest Simulator encounter; multiple separate Shots)
Obtained from
Orbital Box (Simulator)
Included with
1 × VIP (VIP bonus)
Wolf Shot
WOLF SHOT
Shop price
39 Robux
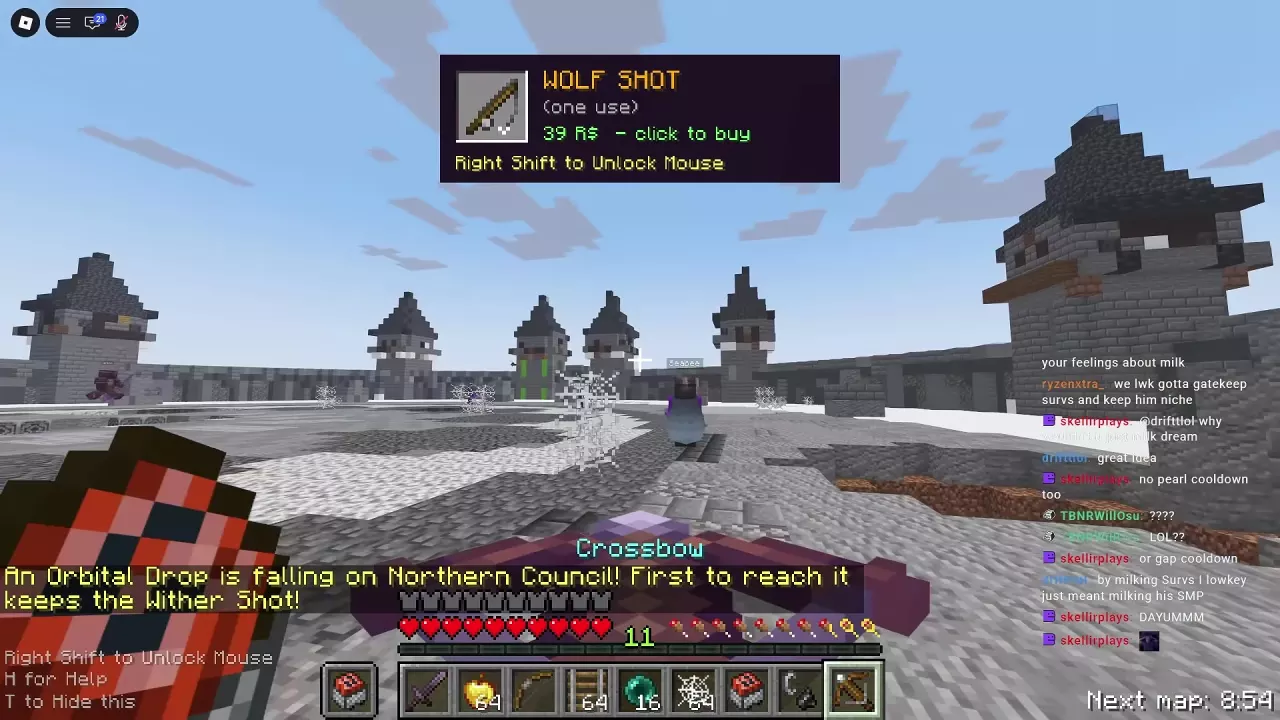
(Shop and Free For All purchase prompt)
Uses per item
1 use
Acquisition
Shop; Free For All purchase prompt; first arrival at an Orbital Drop announcing Wolf Shot
Effect
—
Advertised waves
—
More details
Type
One-use Shot
Arena purchase prompt
Press Right Shift to unlock the mouse, then click the Wolf Shot offer.
(When the Free For All offer appears)
Held appearance
Rod-shaped with a purple glint
Use
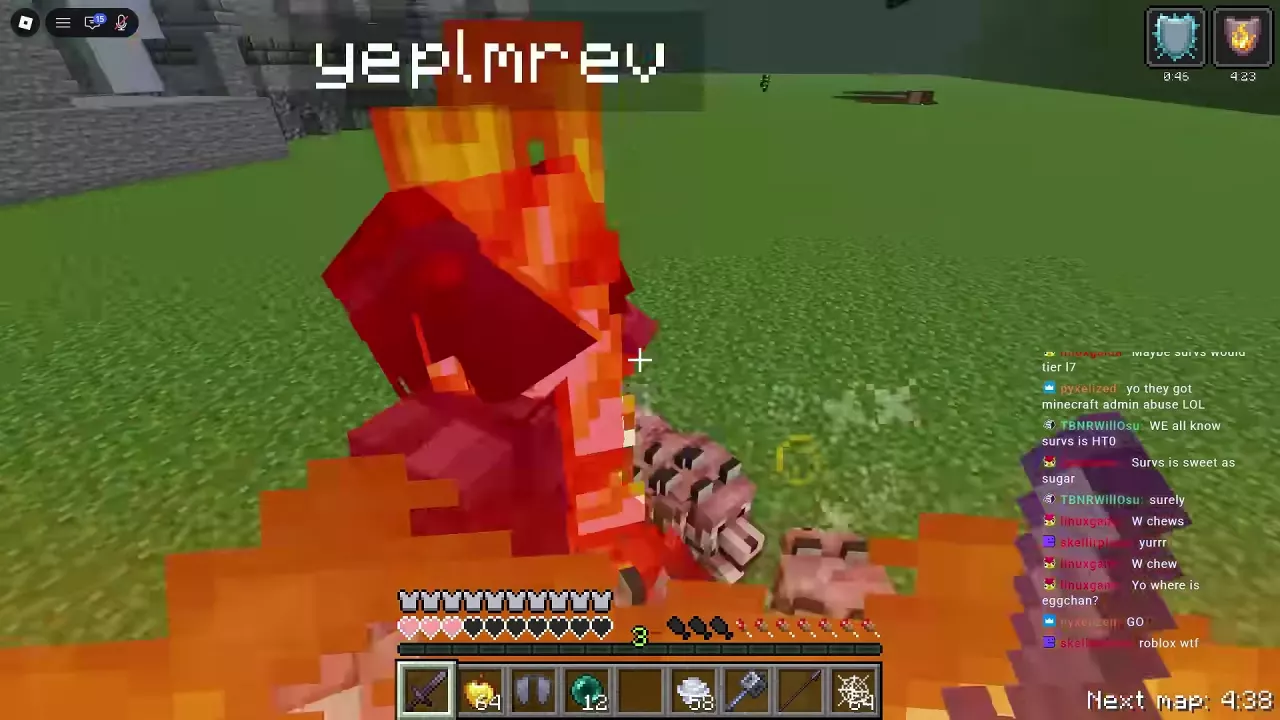
Select it in the hotbar and cast a line and float forward toward an opponent. The item disappears after use.
(Free For All)
Combat example
After the Shot was used, wolves surrounded and chased opponents while the player fought with a sword and recovered with Golden Apples. The wolves later changed targets.
(One Free For All encounter)
Can be won from
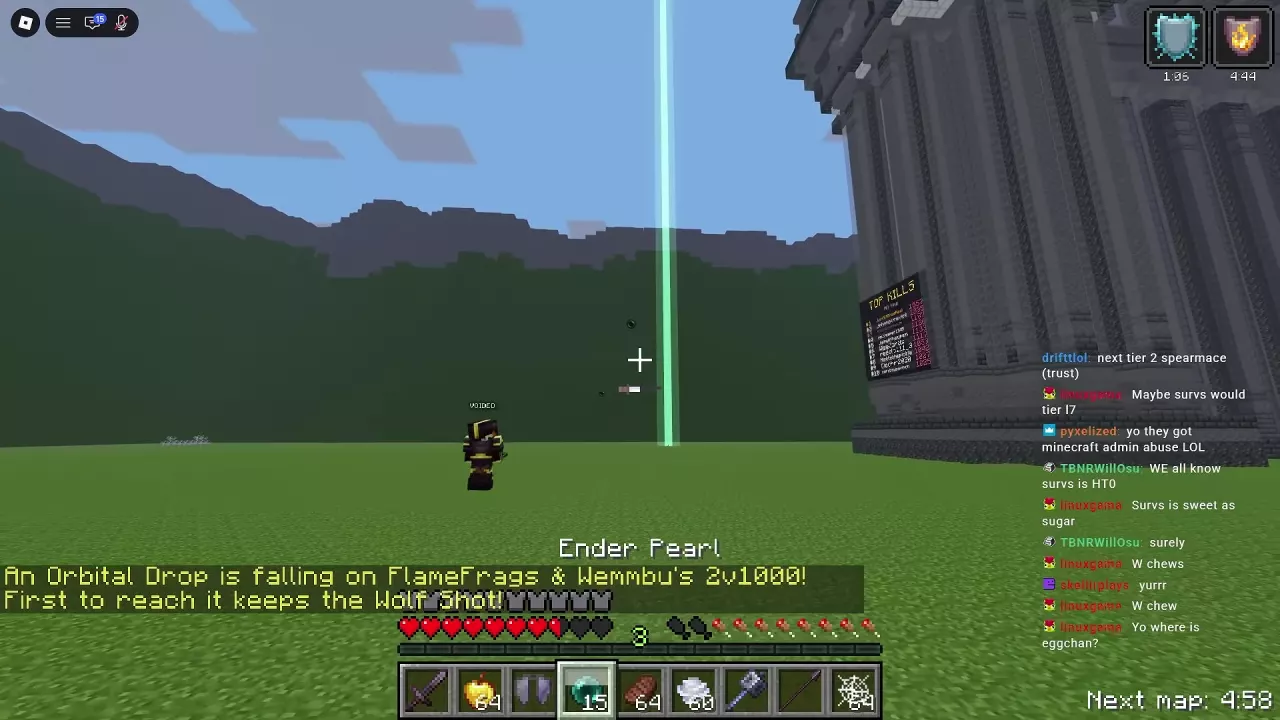
Orbital Drop (Be first to reach a drop announcing Wolf Shot.)
Wither Shot
WITHER SHOT
Shop price
79 Robux
Uses per item
1 use
Acquisition
Shop; first arrival at an Orbital Drop announcing Wither Shot
Effect
—
Advertised waves
3 waves
(Shop product label: 3 WAVES)
More details
Type
One-use Shot
Drop example
A majority-approved repeat drop at Northern Council awarded Wither Shot to the first arriving player.
(Free For All)
Can be won from
Orbital Drop (Be first to reach a drop announcing Wither Shot.)
Compare the Four One-Use Shots
Each Shot gives one use per item. Wither Shot's Shop listing carries the 3 WAVES label.
Choose Nuke Shot for clustered Simulator soldiers: its TNT bombardment can hit groups and tear up the ground beneath them. Wolf Shot is an option for support during an FFA fight; after its use in an FFA encounter, wolves surrounded and pursued opponents while the player continued attacking. Keep a regular weapon ready for the follow-up.
Stab Shot
Shop price
29 Robux
Uses per item
1 use
Acquisition
Shop; one included with VIP
Nuke Shot
Shop price
49 Robux
Uses per item
1 use
Acquisition
Shop; one included with VIP; Orbital Box in Simulator
Effect
Releases a large TNT bombardment that can kill grouped soldiers and destroy terrain.
(Simulator)
Wolf Shot
Shop price
39 Robux
(Shop and Free For All purchase prompt)
Uses per item
1 use
Acquisition
Shop; Free For All purchase prompt; first arrival at an Orbital Drop announcing Wolf Shot
Use
Select it in the hotbar and cast a line and float forward toward an opponent. The item disappears after use.
(Free For All)
Wither Shot
Shop price
79 Robux
Uses per item
1 use
Acquisition
Shop; first arrival at an Orbital Drop announcing Wither Shot
Advertised waves
3 waves
(Shop product label: 3 WAVES)
Buy, Claim or Collect a Shot
Buy through the Shop
Open Shop from the main menu.
Scroll to the Shot products.
Select the Shot you want to buy.
In Free For All, a Wolf Shot purchase offer can also appear above the arena. When it appears, press Right Shift to unlock the mouse, then click the offer.
Get the VIP bonus
VIP includes one Nuke Shot and one Stab Shot. If you are considering VIP for its other benefits too, compare the bundle in the game passes and VIP guide.
Win an FFA Orbital Drop
Read the announcement to identify the reward. A drop can announce Wolf Shot or Wither Shot, and the first player to reach it receives that announced Shot. Use the Orbital Drop guide for finding the landing point and participating in another-drop votes.
Collect Simulator supplies
When you have access to an Orbital Box in Simulator, open it and transfer Nuke Shots into your inventory.
Take Nuke Shots from an Orbital Box
When an Orbital Box is available in your Simulator battle:
Open the purple Orbital Box.
Check the item names in the container. Nuke Shot and Stab Shot have similar rod-shaped appearances, so use the tooltip to distinguish them.
Move the Nuke Shots you want to carry into your inventory or hotbar.
Select a Nuke Shot in the hotbar and keep additional copies available for later attacks.
You can carry several separate Shots. Arrange them so you can reach the next copy without losing track of your weapon, recovery items or movement tools. The inventory and hotbar guide covers moving items and organizing those slots.
Use Nuke Shot Against Clustered Soldiers
Prepare a Nuke Shot in your hotbar before approaching a group. Carry extra copies if you plan to bombard more than once.
Select Nuke Shot and aim toward the enemy group.
Use it to release TNT over the target area. The used Shot disappears.
Reposition after the bombardment. With Elytra and Firework Rockets equipped, you can move above the fight and line up another attack.
Select another Nuke Shot for a further bombardment, then finish surviving enemies with another Shot or conventional attacks.
Aim for clustered soldiers to make use of the area bombardment. NULL and Hard Cindercrest encounters illustrate this use: repeated attacks thinned the armies, but left enemies to finish afterward. Watch the remaining-enemy counter before committing another consumable.
Explosions can destroy the arena floor and leave deep craters. Reassess your landing position and route to survivors after each attack; the ground you crossed before the bombardment may be gone.
Have a Wolf Shot ready in your inventory or hotbar, with your normal weapon and Golden Apples within easy reach.
Move Wolf Shot into the hotbar if needed, then select it. Its held model resembles a rod with a purple glint.
Face your opponent and cast the line and float forward.
Once the Shot is consumed and its slot becomes empty, switch to your regular weapon and continue fighting.
Use it as part of an active engagement. In an FFA encounter after Wolf Shot use, a pack surrounded the opponent while the player alternated Netherite Sword attacks with Golden Apples. The wolves pursued opponents and later changed targets; the player kept up the chase with a sword and Wind Charges.
Keep following your intended opponent and watch your health while the wolves are involved. Their presence gives you a reason to maintain pressure, but you still need to manage your own attacks and recovery.