Track the Opponent While Moving
Move left and right while keeping your crosshair on the opponent. Strafing makes you harder to hit, but it only helps your own attacks if you keep adjusting your aim as you move.
- Face the nearby opponent and begin moving sideways.
- Keep your crosshair following their current position while you attack.
- Watch where they move after each hit. Knockback can push them away or lift them, so turn and adjust your position before continuing.
- Stop committing to the old position when they leave your reach. Reposition or switch tools.
Near a platform edge, knockback can create pressure by pushing the opponent toward less safe ground. Treat that as a positioning opportunity; repeated attacks do not guarantee that the opponent will fall off. Keep enough room for your own movement rather than chasing blindly toward the edge.
Respect Attack Timing and Reset Your Distance
Weapons have attack cooldowns. Practice the rhythm of the weapon you have selected with short attack sequences, leaving yourself time to follow the target and respond to the exchange.
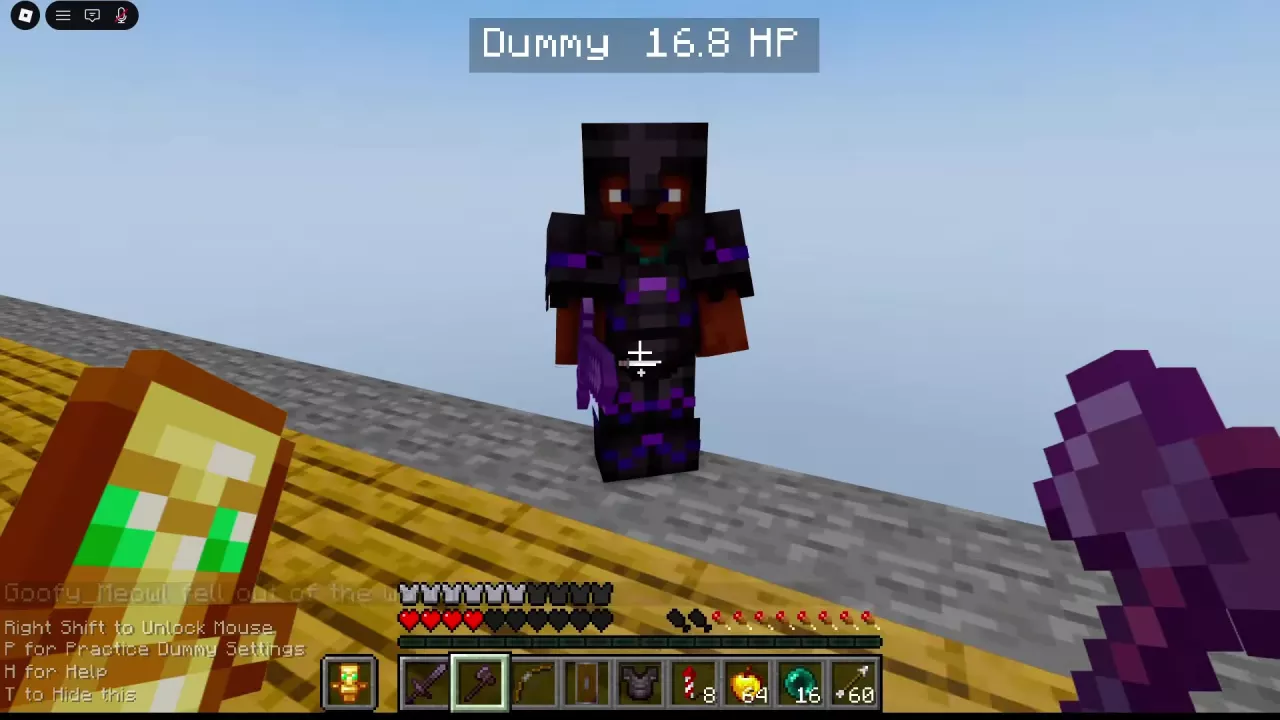
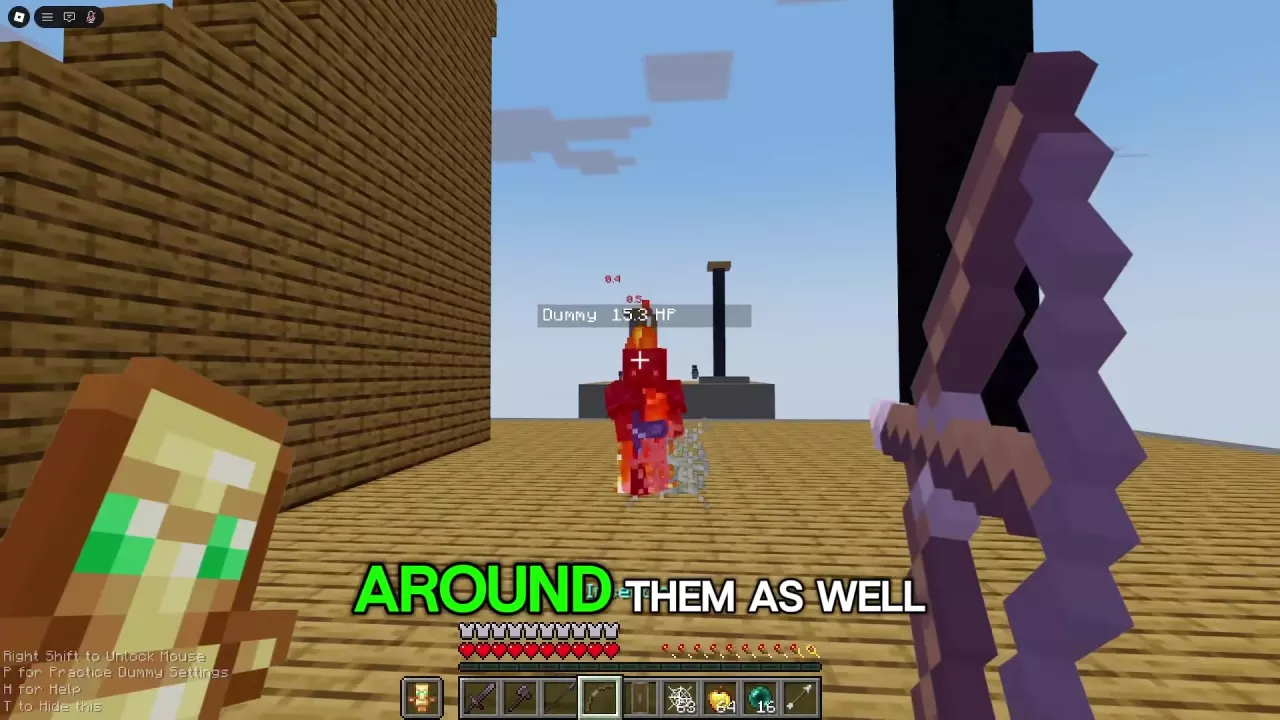
Use the Practice Dummy to connect timing with visible feedback: face it, attack at close range, and watch for a red hit reaction, particles and a change in its nameplate HP. Then practice moving and reacquiring your aim before the next sequence. The Practice Dummy guide covers entering training and using its settings.
If you miss or the trade goes badly, create space, face the opponent again and choose your next approach. Continuing to swing while your aim or distance is wrong makes it harder to recover control.
Keep an escape route available. If your kit has Wind Charges, holding one back gives you an option to change position or disrupt an approach. If you need a Golden Apple, make enough safe space to eat before you are one hit from defeat. See healing and defensive items for the recovery sequence.
Switch Between Sword, Axe and Bow
Choose your next tool according to the opponent's distance and the equipment in your kit.
| Situation | Tool | What to do |
|---|---|---|
| The opponent is within melee reach | Netherite Sword or Netherite Axe | Select the weapon, keep the target in front of you and attack in short sequences while tracking movement. |
| The opponent retreats or flies beyond melee reach | Bow | Select the bow, draw it and aim at the moving target. Follow their movement rather than aiming at the place they left. |
| You want to close a gap | Ender Pearl, then a melee weapon | Use the pearl to catch up, reacquire the target and switch back to your sword or axe. |
| You have a crossbow available | Crossbow | Select it from the hotbar, raise it and aim toward the opponent. |
Sword and axe transitions
For Netherite Sword practice, select the sword and keep the nearby target in front of you as you move and attack. After a pearl approach, switch back to the sword before resuming close combat.
Use the Netherite Axe at close range in the same deliberate way: face the target, attack and follow its movement and hit feedback. Swight's kit is one option that includes a Netherite Axe. When a target leaves your reach, use the bow or a pearl approach; return to the axe once you catch up.
Bow pursuit
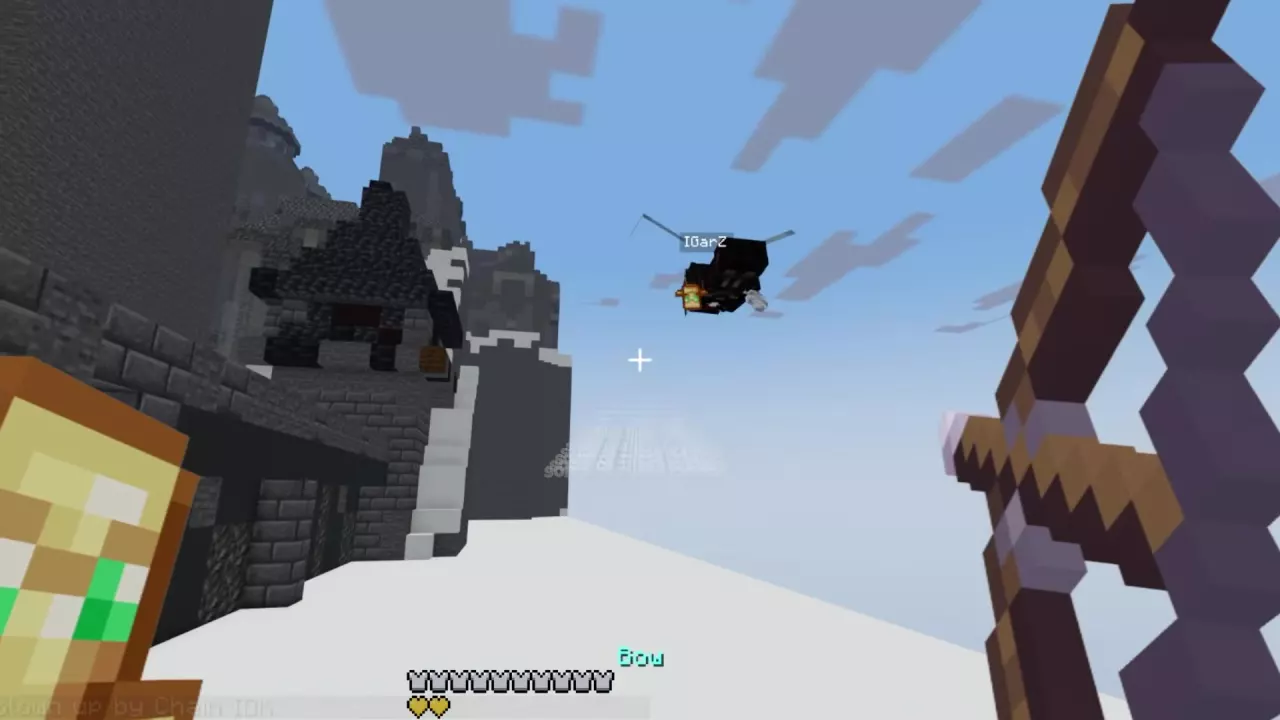
A bow gives you an attack option while a fleeing or airborne opponent is beyond melee reach. Keep drawing and aiming with their movement in mind, then return to melee when you reach them. This transition is useful when an opponent glides away and later comes back within reach near a wall or platform.
Weapon properties also depend on the kit. FlameFrags has a fire-based bow setup, and TheobaldTheBird has a Flame Bow. ManePear's practice Netherite Sword carries Fire Aspect II, Knockback I, Looting III, Mending, Sharpness V, Sweeping Edge III and Unbreaking III; that enchantment set belongs to that loadout. Use the weapons and named gear directory to compare equipment and its kit relationships.
SpokeIsHere, The Wraith and TheobaldTheBird have crossbows in their loadouts. For their role in explosive setups, follow the TNT cart combat guide. For pearl pursuit and other ways to close or open distance, see the movement guide.
Practice Short Control and Counterattack Sequences
Choose a kit containing the tools for the sequence you want to practice. Start with a short transition you can control, then keep tracking the opponent as their position changes.
Shield into sword
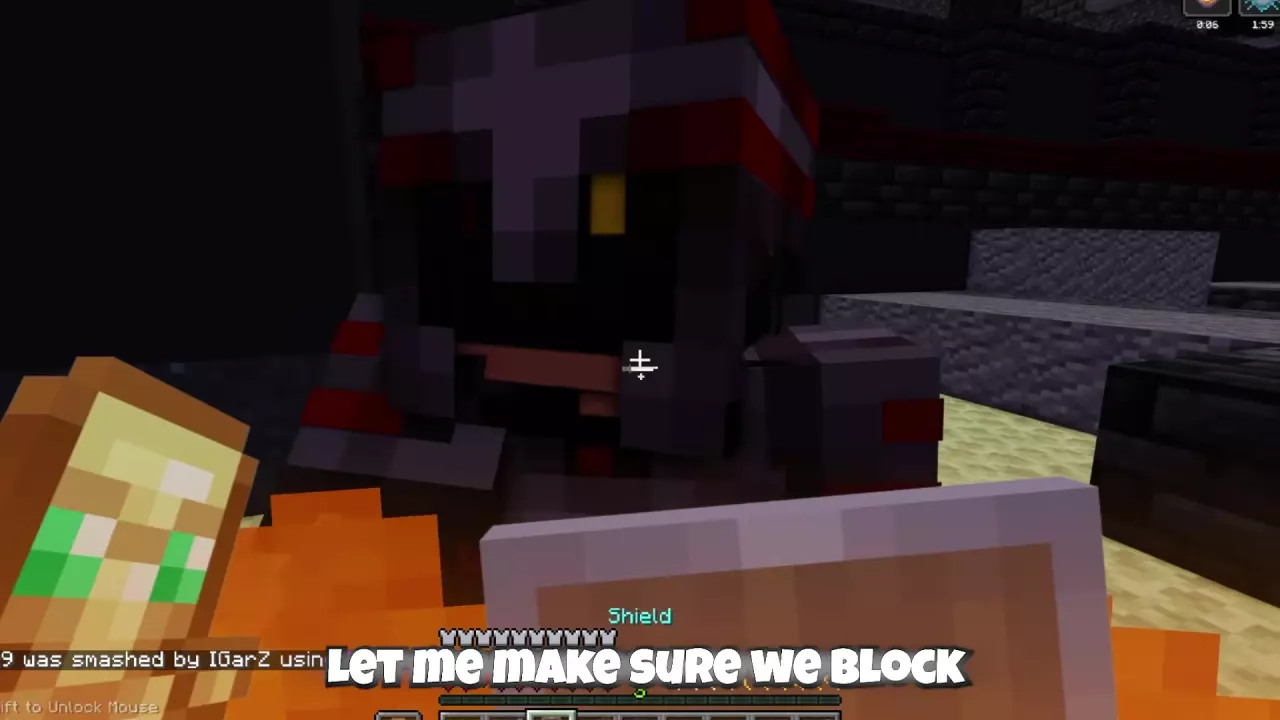
- Face the nearby attacker and raise your Shield to block incoming attacks.
- Switch from the Shield to Netherite Sword to counterattack.
- Keep the opponent in your aim and adjust your position as the exchange continues.
Practice the change from defense to offense without losing sight of the attacker. The shield gives you a defensive action before committing to the sword; the transition does not imply a guaranteed hit or a damage bonus.
Cobweb into melee or bow
- Place Cobweb at the target's feet or where it restricts their escape.
- Keep your own position clear of the web so you do not trap yourself.
- Switch to your melee weapon and make short, aimed attacks while the target is restricted. If you are attacking from farther away, switch to the bow, draw it and aim at the target instead.
Use melee when you already have a close approach; use the bow when you want to follow up from a distance. For placement, recovery and getting out when you are caught, see cobweb traps and escapes.
Reposition against a shield-carrying opponent
If your kit has Wind Charges, use one toward the ground or near the opponent to change the height and spacing of the fight. Track the opponent as their position changes, then switch to a weapon for the next attack. This is a movement option, not a universal shield-breaking method.
A Wind Charge exchange can lead into sword attacks or an aerial approach with Mace or Manespear. Follow the Mace and Manespear guide for the full height, descent and attack sequence.
Read HP Loss Separately from Damage Displays
The Dummy's nameplate displays its current HP. To calculate net HP lost, subtract the ending HP from the starting HP. Keep the calculation attached to the equipment and actions used during that exchange.
| Practice example | HP change | What the number means |
|---|---|---|
| A close-range Netherite Axe attack against an armored Dummy | 20.0 → 16.8 HP | 3.2 HP lost in that setup. This is not a universal base-damage value for the axe. |
| A Cobweb sequence with melee attacks, weapon switches, bow use and burning | 20.0 → 13.8 HP | 6.2 HP lost across the combined exchange. It cannot all be assigned to the last selected weapon. |
Burning can continue while you switch tools. To understand a combo, follow the target's HP through the whole sequence and distinguish attack contacts from ongoing fire damage. A burning opponent can also die after the preceding melee hits, so the final outcome may include both parts of the exchange.
A separate aerial practice sequence used Ender Pearl, Wind Charge, Manespear, Mace and Netherite Sword. The Dummy went from 20.0 to 15.1 HP while beginning to burn—a net loss of 4.9 HP. A later descent produced an 82.2 damage display and knocked the Dummy down. That display belongs to the later attack sequence: it is neither the Dummy's starting HP nor a fixed damage specification for one weapon.
When comparing your own attempts, keep the kit, target setup and attack sequence consistent. Otherwise, a larger HP decrease may reflect a different combination of attacks and continuing effects rather than a stronger individual hit.